
|

|
|
|
Mike & Aneta's RV Projects
|
Date: 2-2-2014
|
Number of Hours: 2.00
|
Manual Reference: W-Section(21)7
|
Brief Description: Double-flush Riveting Aileron Trailing Edges
|
|
Well, I waited too long to start double-flush riveting the trailing edges of the ailerons, so the Proseal completely cured. I had to spend a little time scraping and cleaning the residual that was pressed out by the clecos, in order to make sure the rivets sit flush in the dimples. No big deal, but it would have been a lot easier if I had got on this a couple days ago. I do my "double-flush" riveting in two stages. First, I use my pneumatic squeezer to partially set the rivets, flush on the factory head side, and still sticking out on the shop head side. I do this because, people have complained that using a rivet gun can be a little harsh for initial set, causing the trailing edge to curl and/or warp. Not good. Using the squeezer in this way takes finesse. If you're not careful, you'll squeeze the skins together, permanently denting the trailing edge. However, if you do it right, the edge stays perfectly straight and the rivets get a great initial set. That's what I did tonight, for both ailerons.
|
|
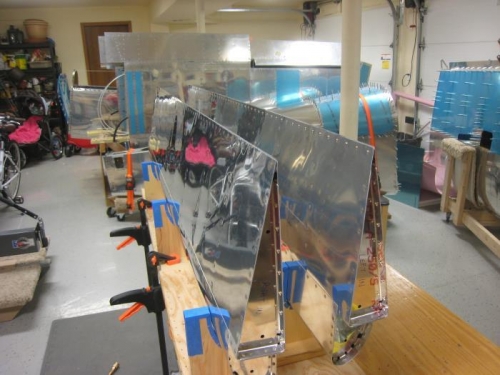
Partially riveted, using the pneumatic squeezer.
|
|
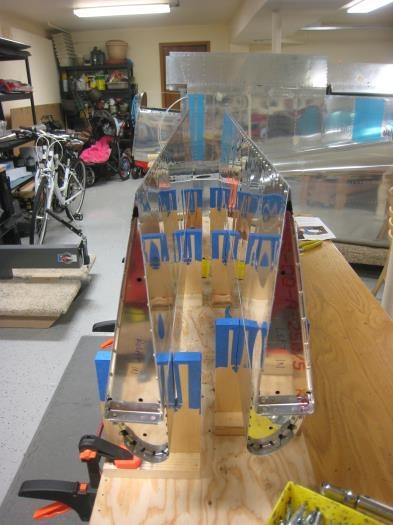
Takes finesse, but keeps them nice and straight.
|
|
|
|
|
|
|
|
|
Copyright © 2001-2024 Matronics. All Rights Reserved.
|