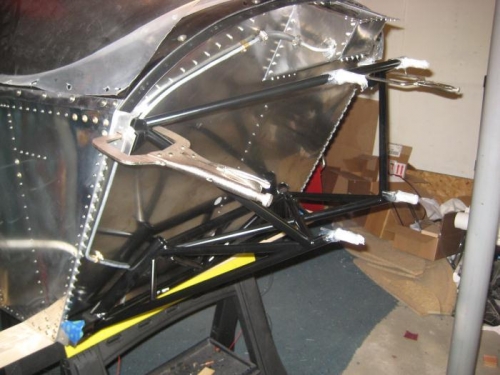
- With the top clamped in place, the lower section of the mount is cradled in the fuselage engine support angles, so no need to clamp the bottom.
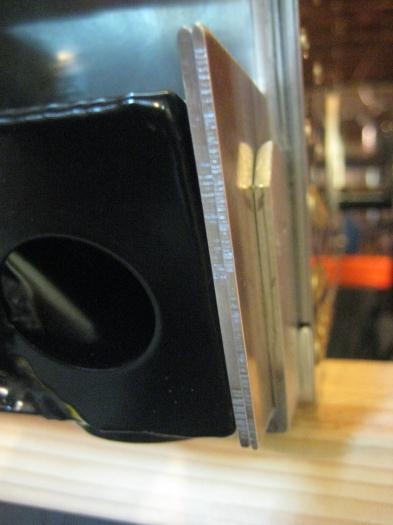
- I then added shims until the gaps were made up on each side, and the center of the engine mount was cented on the firewall rivets. As I'm facing the firewall, it took (2) .090 shims on the lower left, and a .090 and a .060 shim on the right (photo #2).
- I made the shims in the trapezoid shape that matches the lower motor mount plates. They will be marked for trimming when everything is in place.
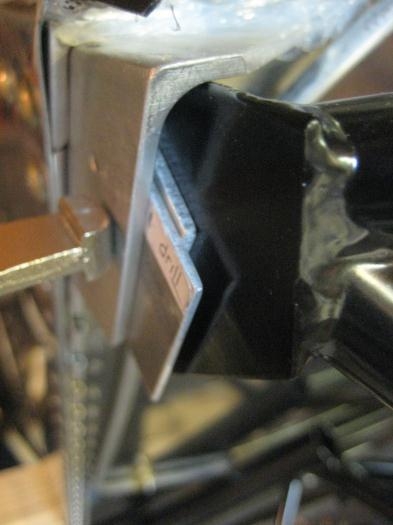
- At the upper motor mount plates I had to add (looking toward the firewall) (2) .090 shims on the left, and a single .060 shim on the right. These shims were not cut to shape; just used some scraps of the right thickness for now (photo #3).
Engine mount initially fitted
.090 & .060 shims on this side. Other side was two .090 shims
At the top, on this side, a .090 and .060 shim; on other side, one .090 shim.