
|

|
|
|
Michaels Web Site
|
Date: 4-23-2012
|
Number of Hours: 3.00
|
Manual Reference: D02/D01
|
Brief Description: Begin install of windscreen
|
|
I got the windscreen and windscreen bow materials today from Sonex.
- Test fit the bow. The elongated holes in the upper stringers were a bit too small, and a bit too far forward.
- So I spent some quality time with my files, widening and elongating the holes.
- Then I marked the center line of the canopy, front to rear (photo #1). That way I could see how the center line of the bow (which I also marked) and the windscreen were lining up.
- I used a wood 2x4 and a rubber mallet to bend over the upper flanges of the forward firewall (it holds the fasteners for the windscreen). The fuselage stringer acts like a bending brake, giving a nice straight bend.
- Test fit the windscreen (photo #2). No dice. The bow was up too high.
- So I cut 3/4" off each end of the bow.
- Test fit the windscreen. Still no dice. The bow was still a bit too high.
- I cut off another 1/4" from each end, then test fit the windscreen again. Now it fit, at least at the aft end. At the forward end (photo #3) you can see I will need to trim the material at the forward end of the wind screen, until it lies flat on the firewall.
- Through the holes in the side of the fuselage, I used a Sharpie to mark where the holes needed to go in the bow (to fasten it to the fuselage).
- Took the bow out, then pilot drilled 1/16" holes where I had marked the bows. Then updrilled to 3/32" (they will need to be bigger, eventually).
- Put the bow back in the fuselage and held it in place with long reach clecos (see photos on next page).
HIT 1,600 HOURS ON THE PROJECT, TONIGHT.
|
|
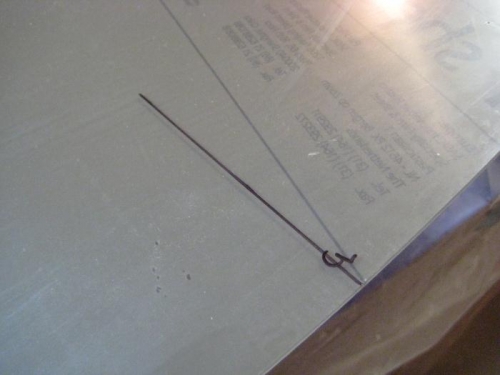
Drew a centerline (it's on the protective plastic) at the front and rear
|
|
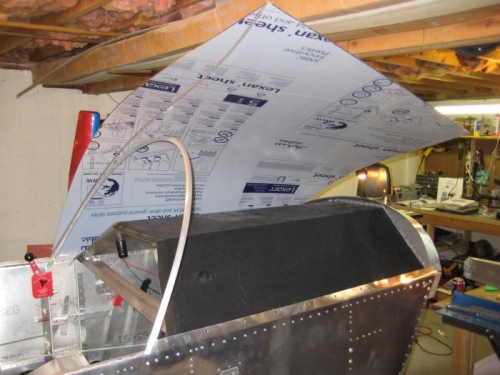
Test fit the bow and canopy several times. Trimmed bow as required.
|
|
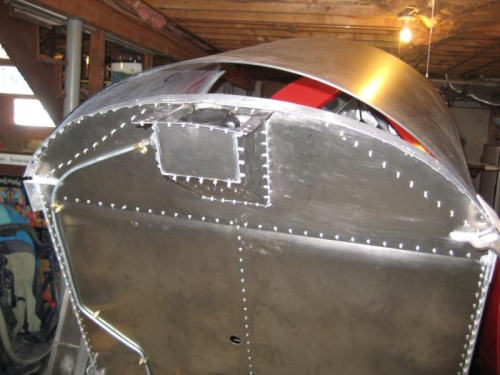
Once the back was set, the front showed how some material needs to be cut.
|
|
|
|
|
|
|
|
|
Copyright © 2001-2024 Matronics. All Rights Reserved.
|