
|

|
|
|
Michaels Web Site
|
Date: 12-26-2022
|
Number of Hours: 1.25
|
Manual Reference:
|
Brief Description: FlyLED Lights
|
|
Assembled the landing/taxi lights. No soldering required, just some assembly.
First thing was to rivet on nut plates for the screws that will both attach to the previously created position and strobe lighting board, and allow them to be aimed.
Assembly of the lights consisted of adding long, spikey heat sinks behind the LEDs, then assembling the lenses.
This is as far as I can go until I get my wing tips in the wing kit. I have to trim the position/strobe boards to fit, then make large cut-outs for the heat sinks and the rest of the "stuff."
Assembly of everything took me a total of 7 hours. I saved $150, and learned new skills!
BTW, if you you don't know much about LEDs, they DO produce heat, and often plenty of it. But the heat is generated at the BACK side of the LEDs, rather than the front, where the light is emitted. So during assembly of the FlyLEDs you will be adding heat sinks behind all but the smallest LEDs.
|
|
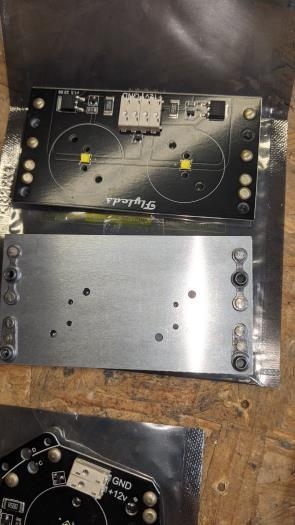
Lighting boards with nut plates attached
|
|
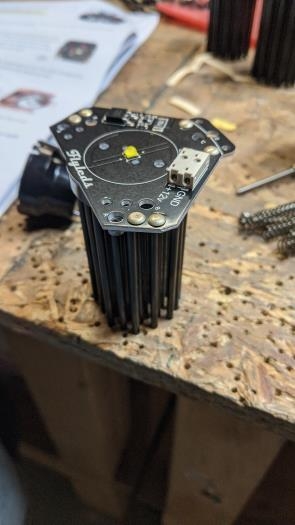
Single light board and LED, with heat sink on the back side.
|
|
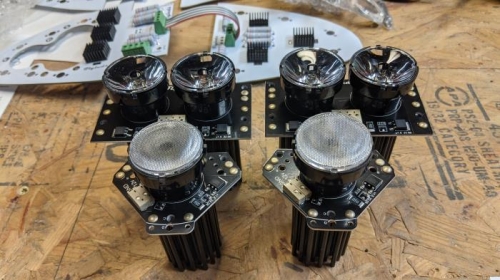
All the landing/taxi lights assembled.
|
|
|
|
|
|
|
|
|
Copyright © 2001-2025 Matronics. All Rights Reserved.
|