Brief Description: Installed Map Box, Rudder and Cables
31-13: Placed zip ties and lacing tape arount the wire bundles in the tunnel below the Panel Base. Zip tied the AP Disconnect Switch Molex housings to the cables under the Panel Base.
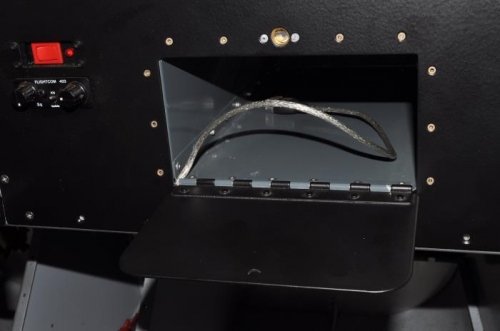
29-06: Riveted the Map Box to the F-1202U Right instrument Panel. Used flush pulled rivets (CCR246SS3-3/32). The plans calls for AN426AD3-4 in several places but I can't reach them with my squeezer unless I removed the instrument panel and everything connected to it. I used AB3-4 flush rivets to attached the CAMLOC receptacle to the panel. Secured the USB cable that connects to the back of the SV-D1000T. The other end enters the the right lower corner of the Map Box. The USB cable will make it easier to install software updates and do downloads.The CAMLOC stud is a millimeter short and I can't twist lock it. I'll get a longer stud or file the receptacle ramp. Tightened the 2 screws that holds the aft part of the Map Box to the Panel Base.
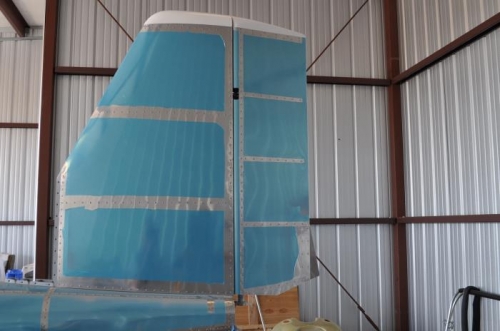
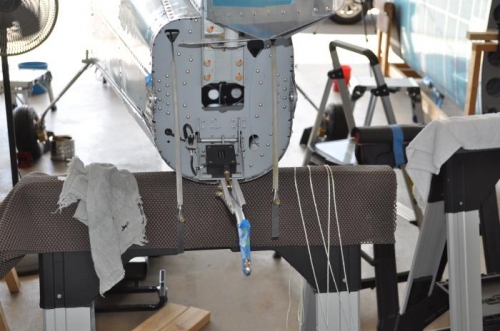
32-11: Installed the Rudder and pulled the rudder cables aft of the F-1211 Bulkhead and temporarily connected the F-1258 Rudder Cable Links to the fork ends. Connected the forward ends of the rudder cables to the horns of the WE-1206 Rudder Pedals.
Tightened the bolts attaching the Rudder Pedal Blocks to the F-1201B Firewall Shelf and torqued to 28 in-lbs. Also tightened the bolts attaching the gascolator to the firewall. Applied torque seal to all the bolts and tightened.