
|

|
|
|
Mikes Web Site
|
Date: 10-13-2017
|
Number of Hours: 4.00
|
Manual Reference:
|
Brief Description: Priming tail feathers
|
|
It's just time... As I prepared to paint the last large piece of the airframe, I had to finish all the little bits first. I opened the leading edge seam of the horizontal stabilzer to add the little aluminum edge pieces I had left over from the extended fuel tank installation. For some reason this seam from the outer edge of the main spar to the tip has no support, merely the leading edge skin being riveted to the top skin. Obviously it works, the factory models are this way. However, adding the little angle under the skin sure stiffens it up, totally a great way to use a left over unused part anway. The angles were the stiffeners under the wing skins, between the ribs. The extra outboard tank in each wing negates the use of two of these, leaving me the perfect four to complete this little modification. The parts were washed, etched, and now primed. Additionally I had to fit the "flanges" on the outer rib to allow the tips to be fastened. I decided to use nutserts on all four pieces, allowing me to remove all of the tips for inspection and maintenence. I slipped a piece of sheet between the top skins and the rib, and then riveted the support angle underneath. This allowed me to fit the tips on, this drill fresh holes without having to try to measure and hit the existing holes in the original angle flanges.... something I'm not very good at for sure!
|
|
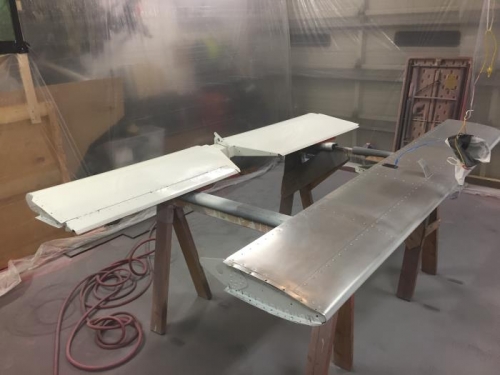
One primed
|
|
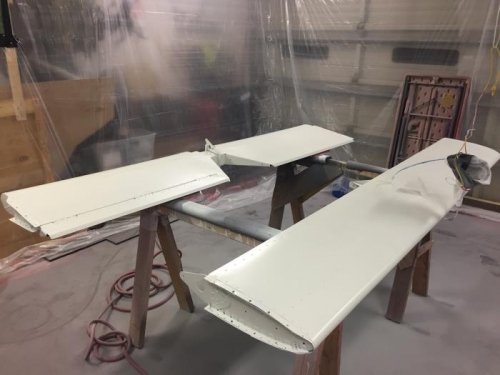
both primed
|
|
|
|
|
|
|
|
|
Copyright © 2001-2024 Matronics. All Rights Reserved.
|