Brief Description: Elevator Trim Tab Assembly and Hinge Installation
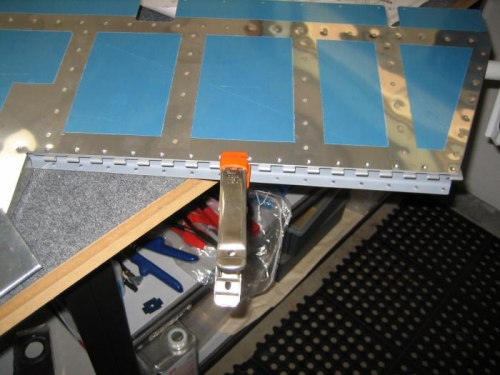
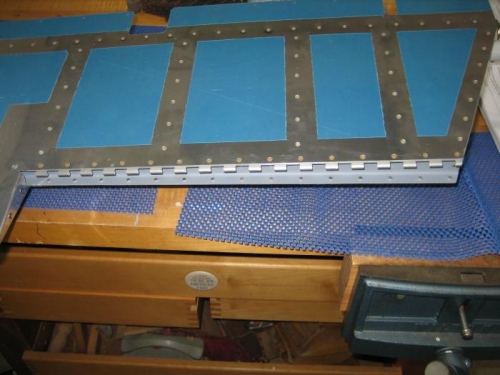
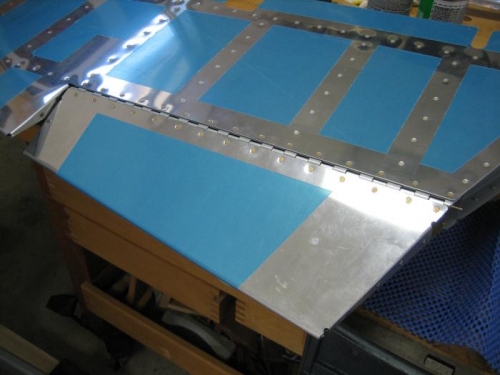
I clecoed the trim tab back together after priming the parts earlier. I riveted the bottom of E-619-1-020 trim tab skin to the bottom flange E-606PP and the two trim tab horns E-717 and E-718. I clamped the E-721 trim tab hinge to the E-606PP trim Spar on the left elevator and attached the trim tab with the hinge pin. I aligned the trim tab with the trailing edge of the elevator and checked the gap at the side of the trim tab adjoining the elevator. I next match drilled the hinge to the elevator trim spar and skin. I removed the hinge and trimmed the end to match the end of the elevator skin. I clecoed the assembly back together, checked twist and alignment and proceeded to rivet the trim tab and the remainder of the elevator. I set the blind rivets at both ends of the trim tab and the end of the elevator where it butts up to the trim tab. Next task is to form the left and right elevator leading edges.