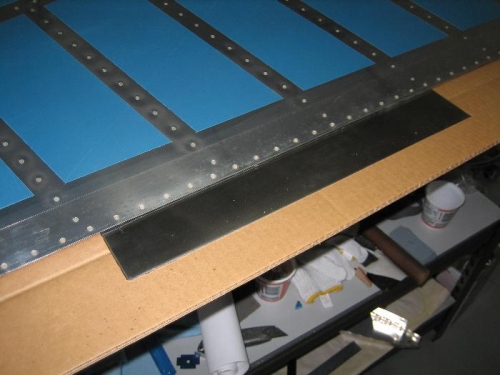
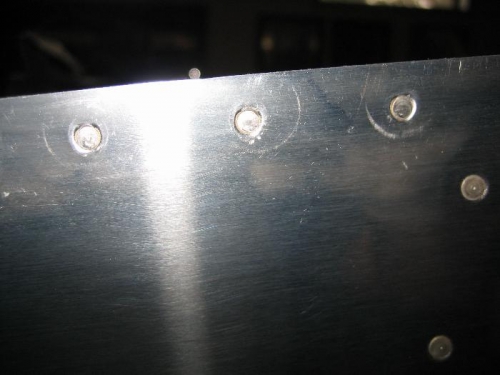
The adhesive on the rudder trailing edge was now dry and I could start the back riveting process. I removed all the clecoes that held the aluminum angle to the trailing edge. The edge was nice and straight. I cleaned any adhesive from around the rivet holes and the trailing edge with solvent. Using a large piece of cardboard, I cut a rectangular opening for my back rivet plate to sit in, which would give me a flush surface for the rudder. I set my rivet gun to 34psi and installed a large diameter mushroom set. I next inserted all the AN426AD3-3.5 rivets and taped them in place with clear packing tape. I flipped the rudder over and set it on the back rivet plate. I partially set every tenth rivet and then checked for straightness. I partially set the remaining rivets working back and forth to maintain a straight edge. Next I flipped the rudder over again an set it over the back rivet plate. I inserted a 1.5" wide mushroom set and final set all the rivets working from left to right. Next step is to form the rudder leading edge, but I am out of time for today