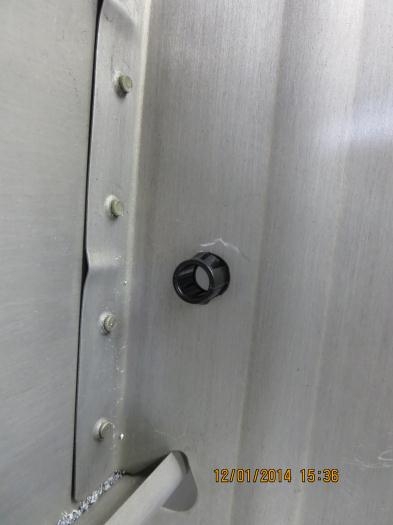
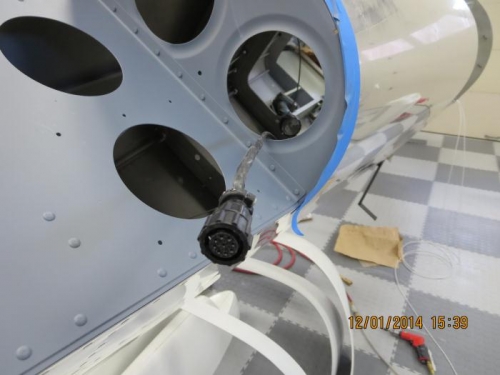
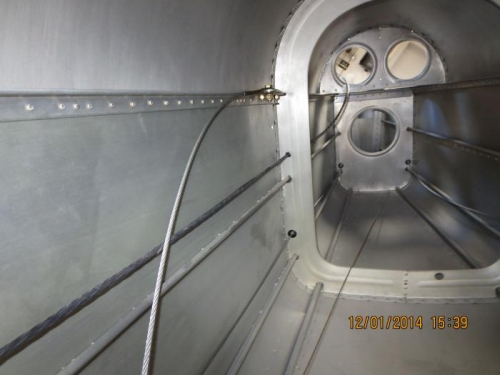
Earlier I had made the Garmin GMU22 magnetometer cable and today is cable run day. I decided to use 2 Heyco SB-375-4 snap bushing and install them into the fuselage bulkheads aft of the baggage compartment bulkhead. This requires drilling a 3/8" hole in each bulkhead for the snap bushing. I first consulted with Van's builder support before I started. I marked both holes following edge clearance criteria and drilled both holes with a step drill bit. I deburred both holes and installed the snap bushings. I cut a 12 foot length of 1/4" black shrink tubing and using a small funnel I poured some baby power inside the shrink tubing to make it easier to insert the 2 shielded cables. I hung the shrink tubing over the top curve of the fuselage and slowly feed the 2 cables through. Using my heat shrink gun with the heat cup installed and mounted in my wood vise, I slowly feed the shrink tubing through until shrunk. I inserted a 3" length of shrink tubing up to the base of the connector and shrunk it also. Starting at the back of the fuselage, I feed the cable through both snap bushings leaving enough to make the connection at the magnetometer. Later I will install a couple of adhesive cable ties to the inside skin of the fuselage to hold the cable.