Brief Description: Fit Right Wing Lower Skin and Pushrods
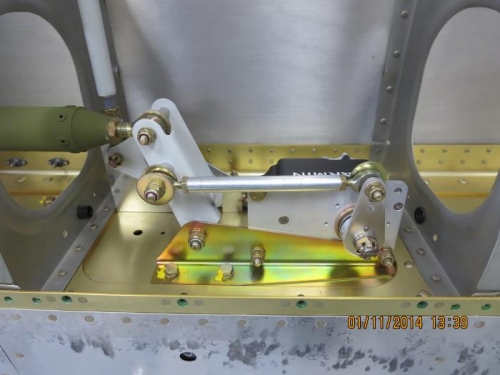
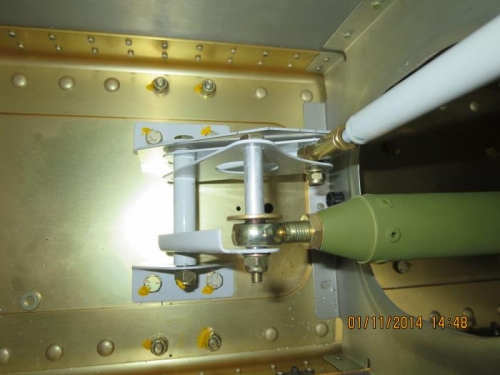
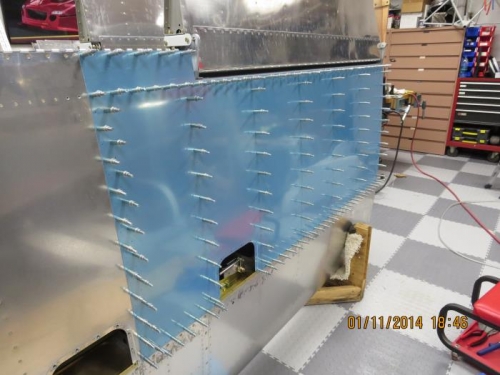
Today I basically did the same thing with the right wing lower skin. I straightened all the rib flanges. Next I installed the left aileron temporarily so I could fit the aileron to bellcrank pushrod as specified in DWG-15A. I adjusted the pushrod rod end bearings with the aileron locked in neutral and the bellcrank locked at neutral. I tightened the two jam nuts and will apply lock sealant on final inspection be I rivet the lower skin in place. Earlier I had installed the bellcrank to stick pushrod end bearings to the length specified in DWG-15A of 69 9/32". I fed the pushrod through the lightening holes and secured it to the bellcrank with the specified hardware. I used a piece of foam to protect the pushrod from damage at the wing root. I next installed the rod end bearings to the left wing bellcrank to stick pushrod. I installed the pushrod as I had done on the right wing. Last, I clecoed the right wing skin in place and match drilled all the holes to #40. Later I will debur and dimple both the left and right wing skins and ribs.