Brief Description: Electric Flap Motor Installation
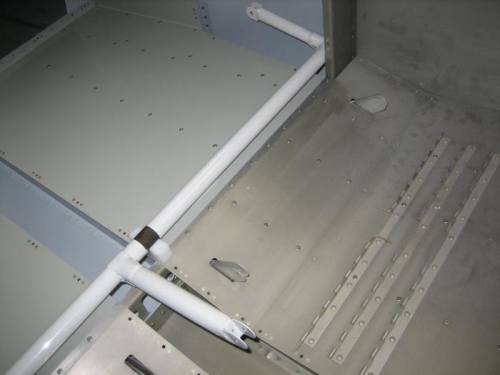
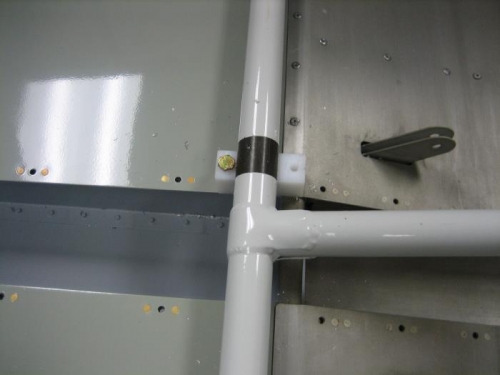
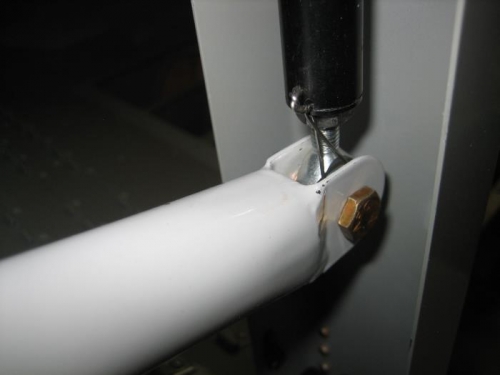
With the 3 nylon blocks finished that support the WD-613-EF flap actuator weldment the next step is to ream out the clevis ends of the weldment to 1/4". The plans call for a small safety wire hole to be drilled through the lip of the ES-85615-157 flap motor actuator. I did this on my drill press using a clamp to hold the actuator in position. Next I installed the flap actuator weldment in the baggage compartment using the bearing blocks and hardware as called for in DWG 33. The center bearing block acted as a guide while I drilled the two holes through the floor for AN3 bolts.