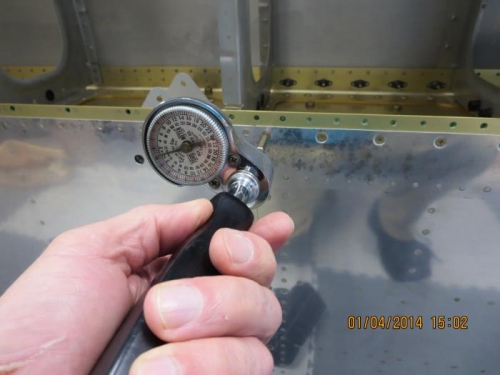
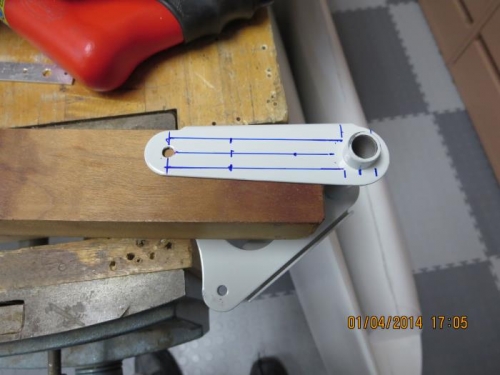
With the fuel tank attach bracket pieces all finishes, it was time to clean and prime them. This took 1 hour. Next I torqued all the AN3 bolts and AN509-8R8 screws that hold the fuel tanks to the wings as specified by Van's for the quick build wings. I will torque the top screws once I have the wings out of the cradles. Now I could install the aileron bellcrank assemblys, but I have to drill a #11 hole in the right bellcrank for the roll servo pushrod. I marked, drilled and deburred the the bellcrank. I cleaned up the rough power coat edges on the ends where the brass bushing is inserted. I used my disc sander to shorten both brass bushings to the correct length about 1/64" to 1/32" longer than the bellcrank. The AN4-32A bolt will not fit inside the brass bushing, so it needs to be drilled out to 1/4". I did this in 3 steps with 3 different drill sizes for a nice snug fit. I was now ready to test fit the bellcranks into the wings. I used a ream to clean out the holes in both bellcranks and the 4 W-823PP bellcrank brackets that are bolted to the wing spar. The fit is good with smooth rotation. I am ready for final installation, but I will do this tomorrow.