
|

|
|
|
LANCE'S WEB SITE
|
Date: 2-8-2020
|
Number of Hours: 4.00
|
Manual Reference: 6W1-1,6W1-2
|
Brief Description: Aligning, drilling, and clecoing left flap ribs
|
|
So, the problem that I had to overcome was that once I closed up the flap skin (not riveted...just closed, more of a pain than it might seem since the bottom edge of the skin has to tuck in between the rib and rear edge of the skin), one side would be nicely lined up, but the rib would invariably move a little so the rib edge would be just slightly off center.
So, I wouldn't have to re-open to adjust, I found 2 primary methods...one that i learned by watching another builder on HomebuiltHelp video (highly recommended DVD set), the other i figured out myself.
First method, is only if you have to move it a little. You take the sharp corner of you metric ruler and gouge into the hole on the skin against the rib edge, and force it over....sometimes it is too tight of a fit so won't budge.
Therefore the other method works well.
I took my smalled drill bit (like a hair width), and drilled a hole in the rib edge (through the skin hole) on the very edge of the skin hole. I then use a need file (my pointest/sharpest tool that I have) and stuck it in that hole and manually pulled it over. Once I lined up nearby skin-lines/holes, I drilled them while holding the needlefile in place and cleco'd them....then continue until all holes are lined up.
Works like a champ.
|
|
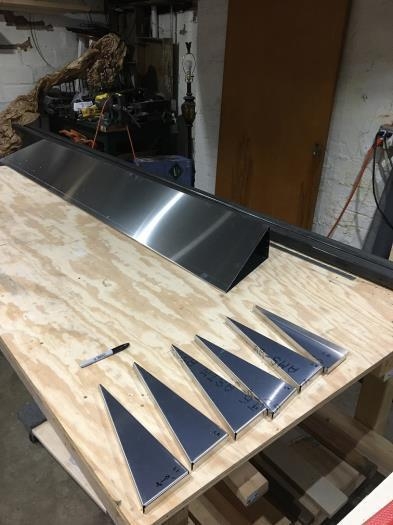
Laying out and numbering left ribs
|
|
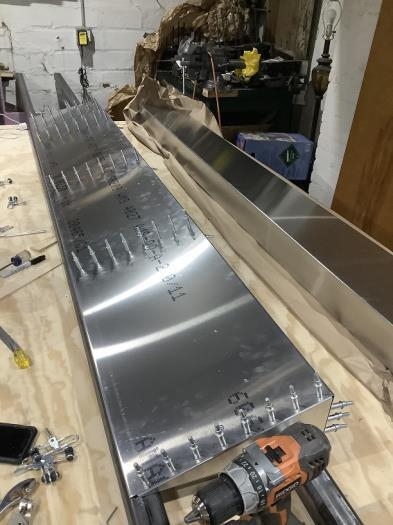
After they are drilled and cleco'd
|
|
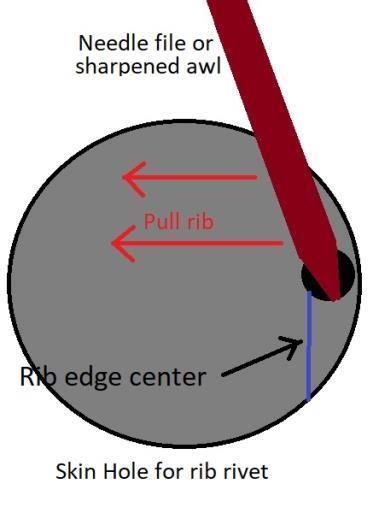
Adjust Rib through skin hole
|
|
|
|
|
|
|
|
|
Copyright © 2001-2024 Matronics. All Rights Reserved.
|