Brief Description: Rivet the bottom of the elevator
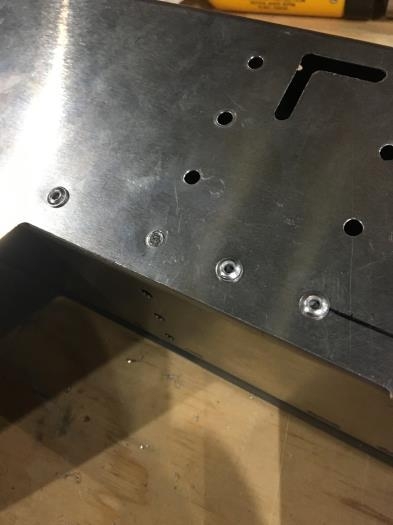
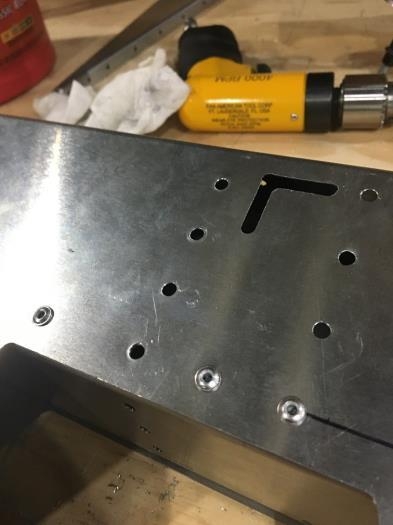
Had my first drilled rivet. Did great! Annnnndddddd then I had to do 5 more because when i did my first fit for the horn tower, I had to move the 6T3-7 brace's holes. I decided to back it with a brace/doubler instead. So I widened the holes on the original and cut an 'L' channel to fit and A5 riveted it on. After a test fit, it all looks good to go.
Instead of riveting the elevator trim actuator in place, I decided that I wanted to bolt it instead. A nice pan headed machine screw of 4mm x 10mm looked right, so I drilled the pre-drilled holes on the actuator (T2-7A-TS) out to A5 size and final bolted it on to the elevator skin. I used nylon lock nuts to ensure that it doesn't vibrate loose over time. I just felt that riveting an electronic device was folly because all electronic devices eventually die and I didn't want to have to drill it out when I could just pull the access panel and remove it. Popped the rubber grommet into place (RP452-ND 3/16" ID)
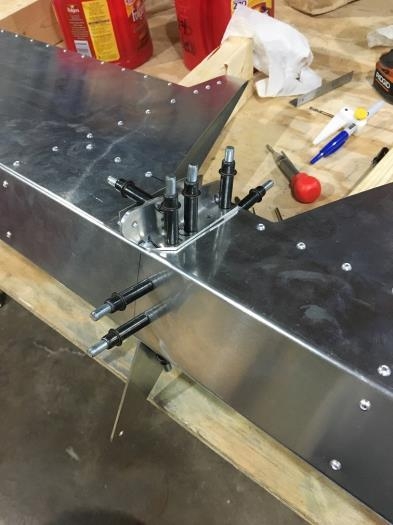
Riveted the trim hinge into place on the trim skin piece (6T6-1) and attached the actuator push rod to the trim tab horn angle (6T6-6) but left the elevator side unriveted yet because I need to open the top all the way up one more time to clean out the chaff from drilling out all of those rivets. :)