Brief Description: Top Covering Center Section of the Wing
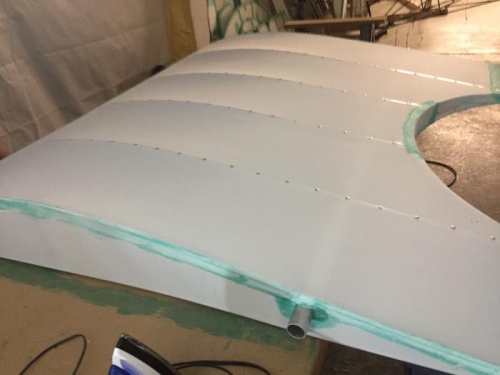
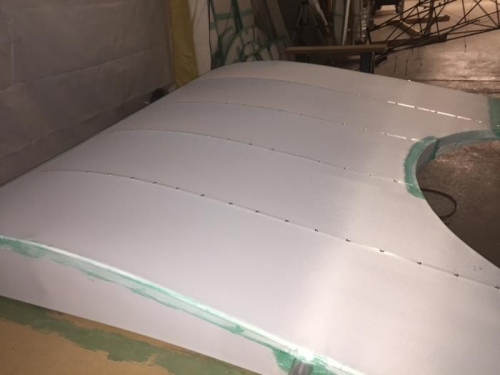
Pulled a section of material over the top of the center wing section. Measured the length and cut the material leaving a 3 inch over lap. Applied a line of glue along the top edge of the right most wing rib. Secured the top fabric to the right end of the center section. Glued the front edge of the fabric along the leading edge. Pulled the fabric tight along the left side of the center section and glued it in place. Used the pinking shears to remove the excess material along the left side of the wing section. Using the small iron at 250 degrees ironed all of the edges. Cut two segments of fabric to cover the opening on the trailing edges of the center sections. Overlapped the material by 1 1/2 inches and glued in place. Cut away the excess material in the center and glued the edges in place. Used the excess center material to cut a patch to fit the center area between the top and bottom of the wing segment. Glued the patch in place and ironed tight. Ironed the seam on both trailing edge patches. Cut two sections of fabric tape and glued in place over the seams. Wiped the excess glue from the fabric with a shop towel.
Using the larger iron set at about 250 degrees ironed both sides of the center wing section. Increased the temp to 300 degrees and again ironed both sides of the center wing section. Applied fiber tape over each rib centered over each stitch hole. Using the soldering iron melted each stitch hole on the top of the wing segment. Installed pop rivets in each of the stitch holes on the top of the wing segment. Fabric taping will have to wait for the next work day.