Brief Description: Start of Covering of the Vertical Stabilizer
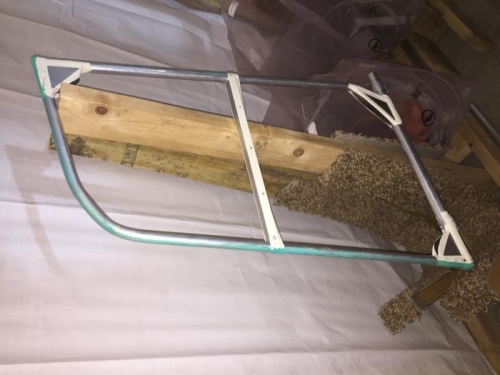
Started the afternoon by turning the heat on in the tent to warm it up to 60 plus degrees. Measured the outer wing uprights and recorded two more reading on each post. This is in preparation for remounting the uprights next to the wing spars. Three of the four will need to be rebuilt due to the gap between the upright and the cross braces of the wing. This was my error in assembling these struts. Removed the support cabling from the vertical stabilizer. Removed the bolt from the front of the vertical stabilizer and then removed the stabilizer from the airplane.
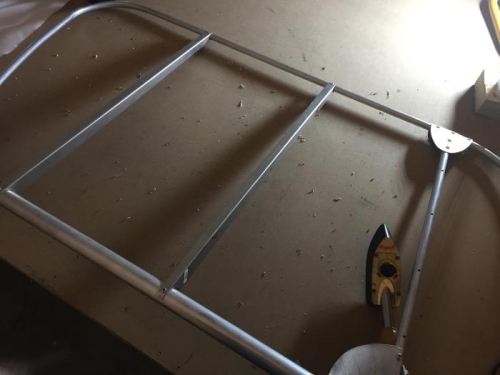
Cleaned the vertical stabilizer with acetone to remove any marks and labels left on the aluminum. Marked the cross brace every 4 inches on both sides and drill a 1/8 inch hole at each mark. Taped all of the edges which may ware against the fabric around the stabilizer. Using a small soldering iron melted each of the holes open to include the two bolt holds in the top of the stabilizer. Applied glue around the perimeter of the stabilizer and set it aside to dry.
Removed the cotter pins from the hinge pins on the elevator and then removed the pins. Removed the elevator and laid it on the work table. Clean both sides of the elevator using acetone to remove all marks and labels from the aluminum. Marked all of the cross bracing every 4 inches on both sides of the elevator. Drilled a 1/8 inch hole at each marked location. End of day.