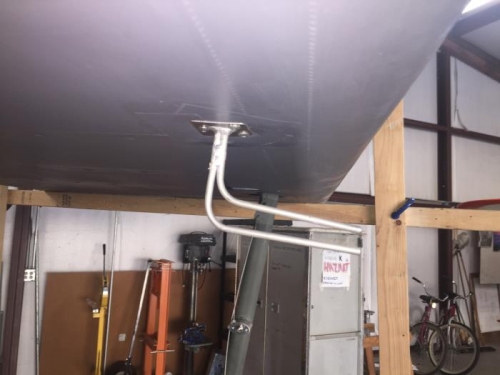
Brief Description: Air Speed Probe Installed and Top Left on Stand
Connected the air speed and static tubes to the probes and set the spring clamp in place. Connected an extension tube to one of the tubes from the probe and blew air into the tube to see which probe that tube was connected to. Marked the tube to the air speed probe. Cut a patch with a small opening to go over the end of the wing where the tubes come out of the wing. Glued the patch in place and left it to dry.
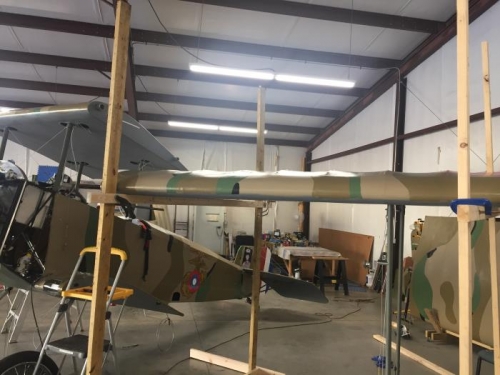
Constructed a second wing stand for use in mounting the wings. Mounted two 2X4X10' to a 7 foot 2X4 and then connected 4 foot feet to each end of the stand so the uprights stand vertical. Clamped a 2X3X8 foot board across the uprights to set the wing on. Positioned the wing stands so the wing could be laid on the cross members next to the airplane.
Dave helped me pick up the wing from the work table and move it onto the stands next to the airplane. On checking the airspeed probe there was an edge of fabric that was not cover the probe. Glued a 3 inch segment of 2 inch tape over the space not covered by the probe base and left it to dry.
Used the small iron to set the new patches on the left wing. Opened the small can of primer and painted each of the new patches to include the patch on the belly of the fuselage. Applied a second coat to each of the new patches and touch up areas on the top left wing that needed it.
Mounted the airspeed and static probes using three 10X32 pan head 1/4 inch screws.