Brief Description: Prep on the Upper Left Wing for Covering
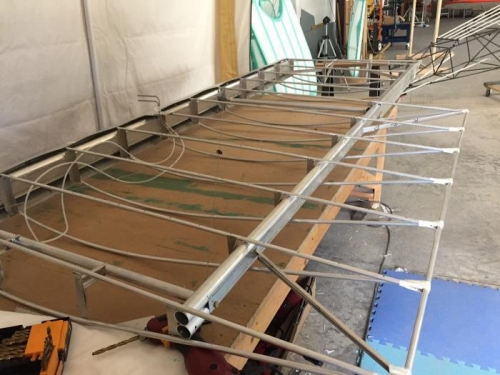
Used the soldering iron on the bottom of the upper right wing to melt out the centers of the four access ports on the strut points. Marked the locations for the struts and cable penetrations. Cut patches to fit over each marked location. Glued each patch in place and let dry. Melted out the marked areas for the struts and cable connections. Paul help move the wing back onto the rack and secured it.
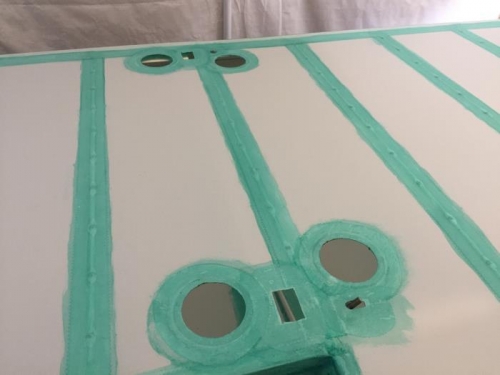
Moved the upper left wing to the work table with the top side up. Added a brace on the second support arm for the wing tip frame. Added a 4 inch long 1 inch angle to each of the two upright braces on the end wing rib. Wiped down the leading edge with acetone. Marked each of the internal wing ribs every 4 inches for drilling the stitch holes. Drilled each of the marked locations with a 1/8 inch drill. Deburred each of the stitch holes and wiped down each rib with 220 grit sandpaper. Used the cloth tape to cover the rivets, seams in the leading edge, and the straps on the trailing edge. Turned the wing over so the bottom was up. Marked each of the internal ribs every 4 inches for the stitch holes. Drilling will have to wait for the next work day.