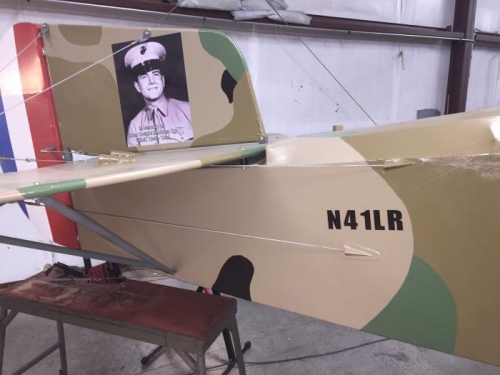
Brief Description: Installed N number and Data Plate
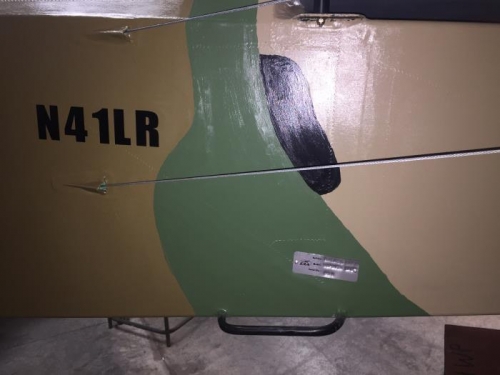
Positioned the label on the right side of the tail and tested locations for fit. Selected a position and marked the top left corner. Measured the distance down from the top of the fuselage and noted the value. Marked that location on the left side and tested that position. Found it to far aft for the color pattern and moved the position toward the front by a couple of inches. Noted the value and then transferred it to the right side. Tested the right side and found that the position was acceptable. Installed the N number on the right side by removing the backing and set the numbers on the fuselage. Used a rag to set the numbers and then carefully removed the covering leaving the numbers glued to the fuselage. Repeated the process on the left side to affix the numbers to that side.
Set up the data plate and clamped it to the bench under a strip of oak aligned on the first line of the plate. Used a set of 1/8 inch letter stamps to mark the plate with the required information. Attached the plate to the fuselage using two 3/32 inch pop rivets in the area set aside for the data plate.
Rolled out the flashing aluminum on the right side of the work bench. Clamped a straight edge on one end of the flashing and clamped it at 3 1/16 inch in from the edge. Used a box cutter to score the aluminum on the straight edge to cut a 3 inch strip. Made two cuts along the straight edge before running out of day.