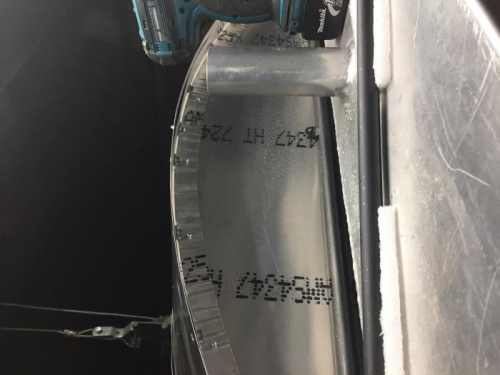
Aligned the top of the cowling to place the front of the cowling squarely across the engine. Clamped in place at the firewall. Measured back from the edge to mark each hole 3/8 inches from the firewall on the flange. Drilled 9 spaced 3/16 inch holes across the top of the firewall and cowling top. Removed the cowling. Placed an anchor nut on top of the hole and secured with a 1032 screw. Aligned the lugs along the flange and drilled each lug hole. Removed the screw and placed the anchor nut on the bottom side of the flange and secured it with two pop rivets. Repeated this process for the other 8 holes. Created a mounting stud by removing the head of a 1032 bolt and screwing it into the top center hole of the firewall. This will serve as an anchor for mounting the cowling before screws are installed.
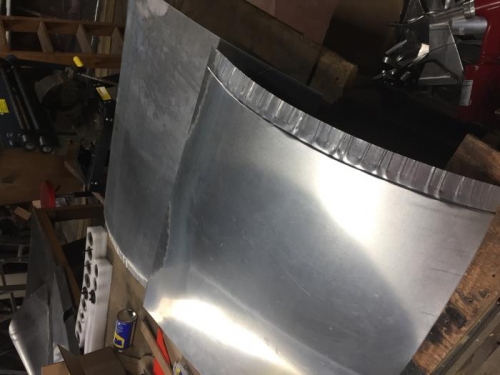
Formed the sides of the cowling by cutting a sheet of aluminum to size. The top edge is dimpled by 1/16 inch to form a 1 and 3/8 inch lip to go under the top sheet of the cowling. The top 3/8 inch is bent in at 90 deg to stiffen the edge. The front edge is also dimpled by 1/16 inch to form a 1 inch lip to install under the cowling bowl edge. The front edge is also shrunk to match the curvature of the cowling bowl. The process is repeated for the other side of the cowling.