3 plies of 10" x 10" BID cloth were cut at 45 degrees.
The shop temperature was 80 degrees F and the humidity was 50%.
An approximate 1:1 ratio of epoxy to microspheres was mixed in a mixing cup. Using a paint brush I covered the diagonal foam block face and sides with this slurry.
I added 2-3 more spoons of microspheres to the slurry to make dry slurry. It was still a little too runny I should have added more microspheres. With this "near" dry slurry I used a mixing stick and filled in low spots and voids in the foam as well as filling in the gaps where the foam block met the existing fiberglass. I also added dry slurry to the depression corners where the photo goes.
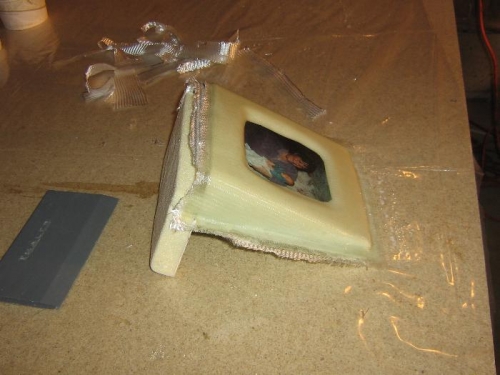
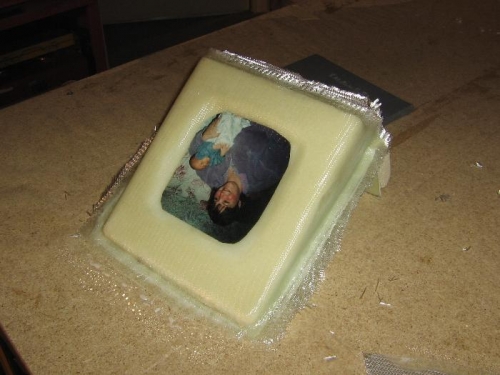
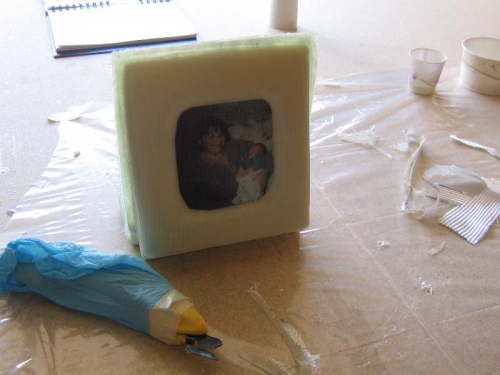
Mixing a new batch of epoxy and using a different paint brush, I wet the existing fiberglass and applied 2 layers of BID cloth. The picture was then placed in the depression and covered with the 3rd BID ply. Significant "stippling" with the paint brush was required at all of the inner and outer corners to eliminate air bubbles. After trimming away excess glass cloth, I stippled the corners again to try to eliminate any remaining air bubbles.
After about 1.5 hours I used the electric scissors to trim the edges and the bottom was trimmed flush with the bottom of the foam block (or as close as I could). Once this second layup is fully cured then the next step can commence.