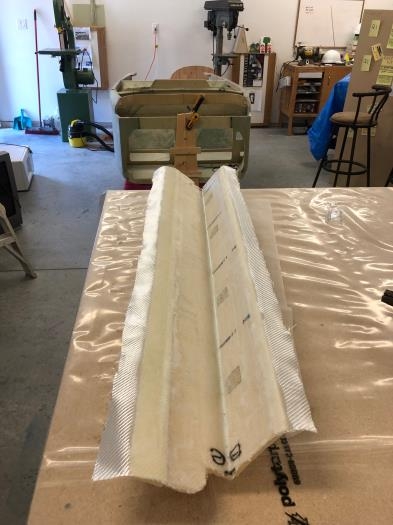
Sanded the inside of the shoulder brace as required (and vacuumed).
Workshop temperature 24 deg C and humidity 61%.
Mixed a batch of micro using 44g resin and 16g hardner and some glass bubbles and applied the micro to the inside surfaces of the shoulder support. Mixed a batch of epoxy and applied one ply of BID cloth to the inside of the shoulder support, leaving about 1" overhanging both beveled edges with no epoxy on it. The cloth was trimmed on the sides and the front seatback mating surfaces were sanded.
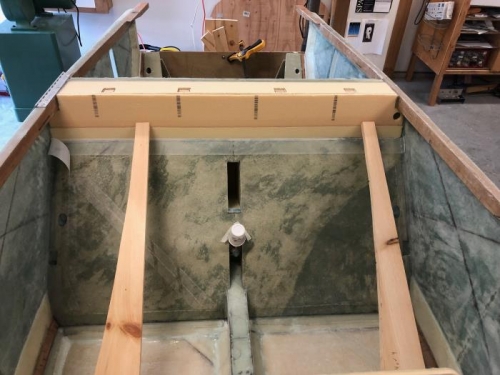
After waiting 2-3 hours, so that the layup was sticky and wouldn't fall off, then a batch of epoxy was made using 50g resin and 19g hardner. Some of the epoxy was mixed with flox and used to install the shoulder support. Two leftover jigs from the fuselage side fabrication were used to hold the shoulder brace in place.
The overhanging BID cloth was wet down with epoxy and covered with peel ply.