Powered By Kitlog Pro v2.0
Beyond Blue
Cozy MKIV
All
4-18-2015
< Previous Log Entry
Next Log Entry >
Date:
4-18-2015
Number of Hours:
8.00
Manual Reference:
Chapter 5 Step 4
Brief Description:
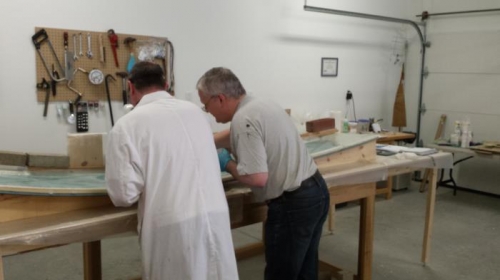
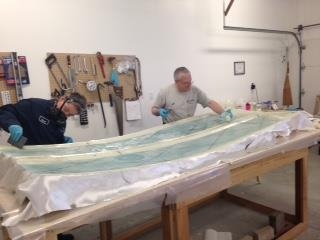
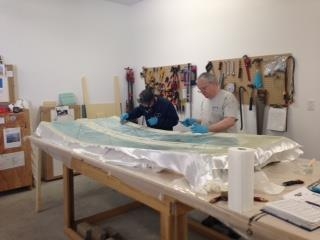
Inside Layup & Install Upper Longerons
Thanks to Jason & Steve for helping today with this layup !!!
Shop temperature was set 26 deg C and the humidity was 38%.
1. Dry micro was applied to holes, transitions, corners, edges, and any area needing repairs.
2. Applied micro slurry over the entire surface of foam except the fuel sight gauges.
3. Layed out the first layer of UND cloth at a 30 deg angle, keeping the fibers straight; butted (not overlap) adjacent strips.
4. Wet out with excess epoxy on the first layer of UND cloth. Squeegee & Stippling.
5. Placed the second layer of UND cloth at 30 deg angle crossing the first layer.
6. Wet out with epoxy and squeegee well to remove air between layers and excess epoxy. Used a paint brush and lots of stippling.
7. Scissor trimmed and applied peel ply along the lower edges.
8. Scorr trimmed and applied peel ply to the landing gear attachment areas.
9. Scisso trimmed the tops as flush to the foam as I could (will have to do some cutting/sanding here later).
10. Covered spacers with wax paper and inserted between fuselage sides at the premarked locations.
11. Applied wet flox to the surface location for the top longerons.
12. Placed the top longerons in the premarked locations.
13. Added bricks to ensure the longerons would stay in position and there would be no gaps.
14. Checked for excess flox to cleanup but there was none.
15. Applied peel play on the glass alongside the longerons.
16. Using a light we did a final quality check to ensure no air bubbles or dry areas.
17. Layup left to cure at 25 deg C til tomorrow.
Dave & Steve
Jason & Steve
Jason & Steve
< Previous Log Entry
Next Log Entry >
SITE NAVIGATION
Contact Builder
Cozy MKIV Home
Cozy MKIV Home
Category
# Logs
# Hours
All
450
903
Chap 14: Centresecti
1
10
Chap 3 : Training
17
58
Chap 4 : Bulkheads
116
180
Chap 5: Fuselage Sid
79
128
Chapter 6: Fuselage
113
215
Chapter 7: Fuselage
46
116
Chapter 8
30
64
Miscellaneous
9
3
Other Cozy Projects
1
1
Tools
3
10
Training & Preparati
17
58
Training & Setup
17
58
Wings
1
2
Copyright © 2001-2024 Matronics. All Rights Reserved.