Brief Description: Seatback - fill small air bubbles with epoxy
Air bubbles were noticed on the side edges and on the bottom taper of the seatback. All air bubbles were less than 2 inches in diameter (they are actually less than 1 inch diam) so injecting epoxy is an acceptable fix.
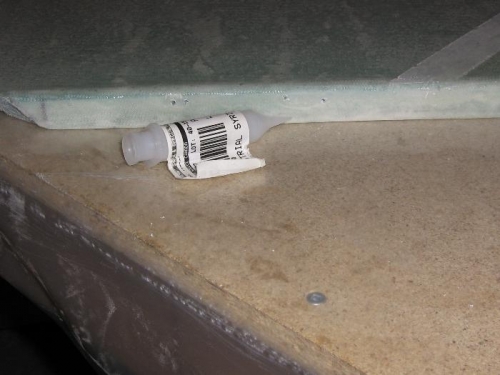
I used a small drill bit, with a diameter slightly larger than the end of the syringe, to drill an entry and exit hole in any significant air bubbles.
The temperature in the workshop was 81 degrees F and the humidity was 62 %. I mixed one pumpfull of epoxy into a small cup and then used the syringe to inject it in one of each set of holes. It was obvious when it was an air bubble as you can see the epoxy filling in the white space behind the glass. A few of the areas where I thought was an air bubble wasn't as the epoxy just came out of the hole right away as it had no where to spread to. In those cases, I just put a touch of epoxy in each hole.
Once dry, I'll go over with 220 grit sandpaper.
Holes drilled to inject epoxy in air bubbles
Tapered edge after epoxy injection into air bubbles