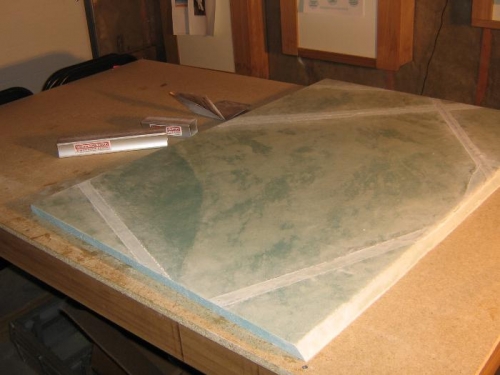
The peel ply was removed. The peel ply did a good job over the transition areas where UND cloth was butted together to cover the foam. However, it left ridges along the peel ply sides that had to be sanded (220 grit) smooth. This is likely since I applied the epoxy onto the peel ply with a paint brush and didn't use a squeegee. I'll try the squeegee next time.
Once the peel ply ridges were sanded then the outer fiberglass edges of the rectangular seatback were sanded. The seatback, table, and floor were vacuumed.
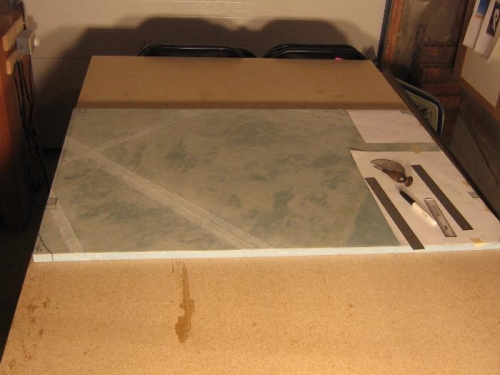
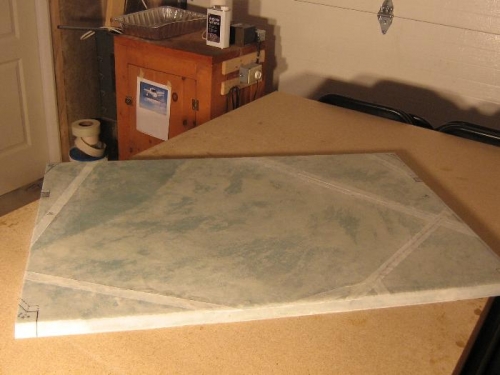
The templates were applied to the right side. I traced the areas to be cut out and used a dotted line to indicate places where I'll have to taper the foam with a knife after. I flipped the templates over and marked up the left side next. I also marked the centre of the 1" diameter holes with an awl. The holes will be drilled later after the bottom side layup has cured.