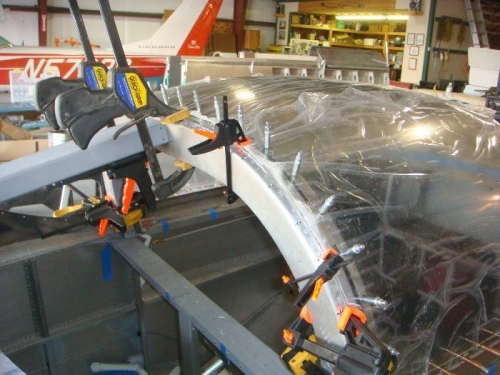
It all looked good so I drilled the top holes into the channel through the canopy. I also drilled the frame to the channel. I used the corner drill and drilled while everything was clamped and secure.
About every fifth hole, it looks like I have cracked the canopy. I have a mild cardiac arrest... then look closer and see that its just the plastic covering playing tricks on me.
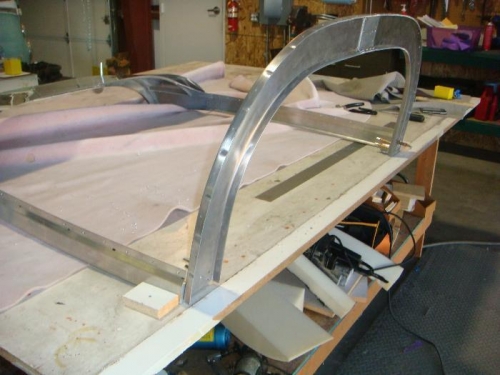
I removed the canopy and squeezed the rivets on the back plate on the channels.
* I have read about people who squeeze the rivets only to find the width of the frame has changed. SO... I secured the frame at the exact width to the table. Then, riveted everything together. When I test fit the canopy when I finished, It had remained the correct distance.
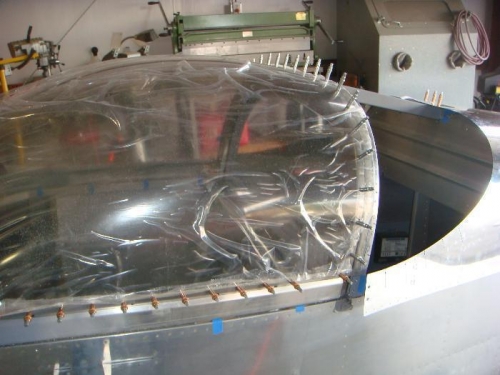
I was worried that it was sitting up a bit to high. So, I put the plexiglass back on. Everything looks pretty darn good.