Today seemed like a great day to fiberglass the canopy plexiglass fairing. Yesterday, I talked with a number of the guys from the EAA group. I had been debating it I should install the fairing permanently or make it semi-removable. After talking it over and thinking it through I decided to make it removable... then if it doesn't work well, I'll make a permanent one.
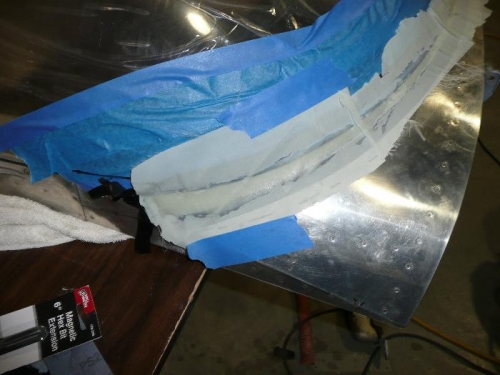
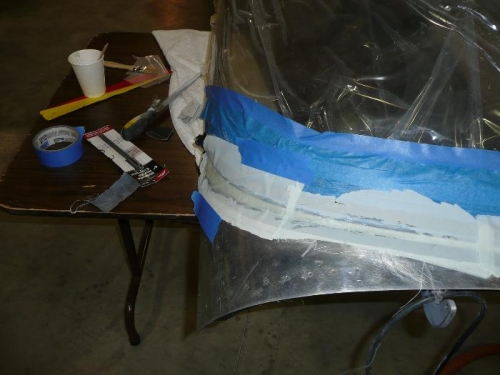
I taped everything off well and marked where the top and bottom of the fairing should end up. Then, I waxed everything down. (So the fiberglass will come back off.)
I made a paper pattern of the way the fiberglass should lay. Hopefully I can get the pictures to work. I used post-it notes for the basic pattern, then transfered them to paper.
I'm using bi-directional fiberglass so it will lay into the compound shape will. (I hope!)
I cut two pieces of bi-directional fiberglass to the largest size of the pattern. Then, cut 6 more pieces progressively narrower. To the point where the fiberglass pieces fell apart when I picked them up. Bi-directional fiberglass is pretty flimsy.
I then layed out one of the widest pieces and started laying it up. Using the technique I learned in the class, I spread on the resin, layed a piece of plastic across it and squeezed out as much as I could using a funky roller I ordered. The trick is to make sure the glass is wet but there is as little resin as possible.
I then went about laying progessively narrower strips of glass on the wider pieces. (Making the fairing thicker and thicker in the middle.) The last strip I put on was the other wide strip. I squeezed out as much resin as I could and then cut out the fairing pattern I had drawn on the lower piece of plastic before beginning.
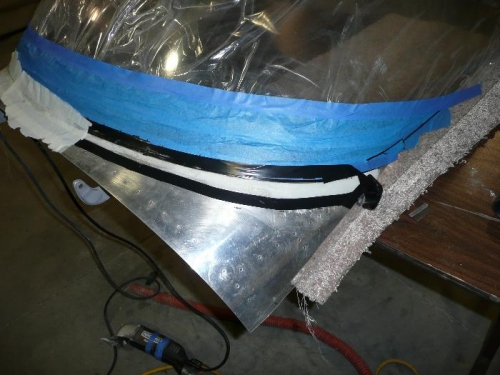
I layed the entire piece of plastic coated fiberglass on the canopy and go it aligned. Then, I carefully removed the bottom piece of plastic and pushed everything into place. Lastly, I removed the top piece of plastic. I worked it into the groove then covered it with the cloth that wicks up the resin.