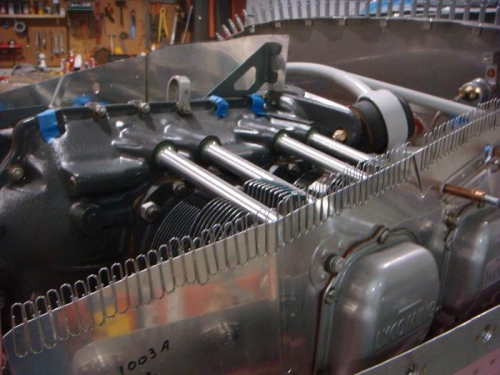
I worked most of the day trimming the baffling to the correct size. I ended up using paperclips to find the distance to the inside of the cowling.
I started trying to do the entire baffling trim at one shot... but quickly came to my senses.
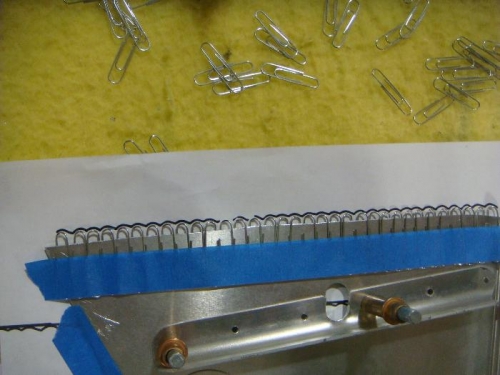
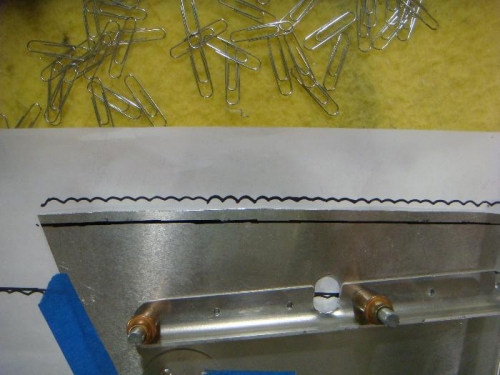
I did the following process for each piece of baffling. I installed the piece. - Lined the top of the piece with paperclips. The paperclips were standing up about 3/4 of an inch above the metal. (Like small soldiers) - Next I would install the top cowling. (This would push the paperclips down to fit the cowling.) - I'd remove the cowling. (If the paperclips were push down completely, I would trim the baffling and refit the cowling.) - To keep the paperclips from moving, I'd put a piece of tape across them. - I'd remove the baffling. - Tape a piece of paper to the back of the baffling piece. - Using a sharpie, I'd draw along the top of the paperclips. - Next, I'd remove the paperclips. - I used a 3/8 inch thick board to measure down 3/8 of an inch from the line marking the top of the paperclips. - I'd trim close to the line with the snips. (Within about 1/8 of an inch) - Next, I'd grind the piece down to the correct size. - Then, I'd refit the piece and reach in and mark and changes.