Brief Description: Sub Panel Seal Angles - Rudder Pedals
This evening I braved the cold for an hour and a half. I started out working riveting the sub panel support seal onto the center panel. I'm not sure if it was because rivets were a bit too long or it was REALLY cold, but the rivets kept tipping over. (I had the same problem on the side panels) I was using the shortest #4 rivets I had but ended up drilling out about half of them. (Frustrating)
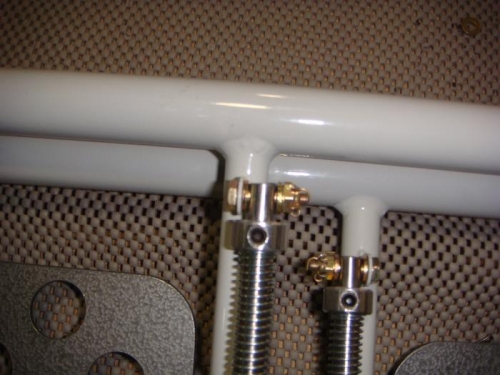
I pulled the rudder pedals and brakes to complete the bolt attachments. I hadn't put in the cotter pins and figure it's about time. (I can't see why I'd take them apart again. But, I'll probably end up disassembling them a dozen times:-)
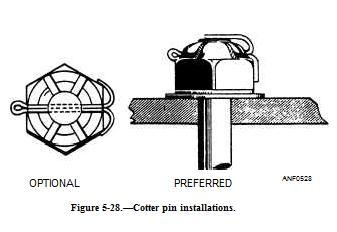
I Googled the correct way of installing a cotter pin. My have installed a zillion cotter pins in my life and have installed none of them the 'preferred' way. I've always just bent both prongs back opposite ways. (Like is shown in the 'optional' method.) Where I can, I'll try to use the preferred method. I can see where it would be difficult in some tight areas.
Cotter Pin (Notes) - Do not bend the prong over the bolt end beyond the bolt diameter. (Cut it off if necessary.) - Do not bend the prong down against the surface of the washer. (Again, cut it off if necessary.) - Do not extend the prongs outward from the sides of the nut if you use the optional wraparound method. - Bend all prongs over a reasonable radius. Sharp angled bends invite breakage. Tap the prongs lightly with a mallet to bend them.