This is another one of those projects I have spent hours contemplating. So, this afternoon, I decided to dive into it.
The directions are almost NO HELP. I have googled the ways other builders have installed the vents and decided on the following.
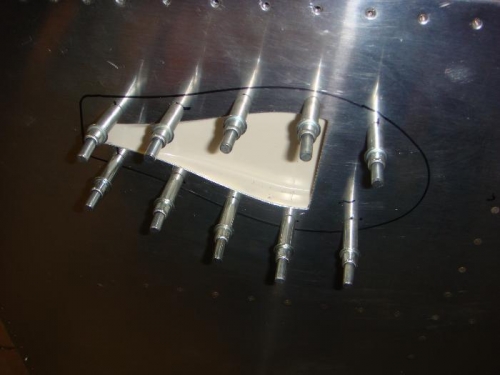
I placed the rivets 1 1/2 inch apart around most of the vent. The trick was getting the rivets in the middle of the plastic vent. I drilled the holes (and held my breath that the measurement was correct.) I removed the vents and deburred the holes. Dimpled the holes in the skin and countersunk the holes in the plastic. (I ended up countersinking them by hand... the bit I usually use was too abrasive.)
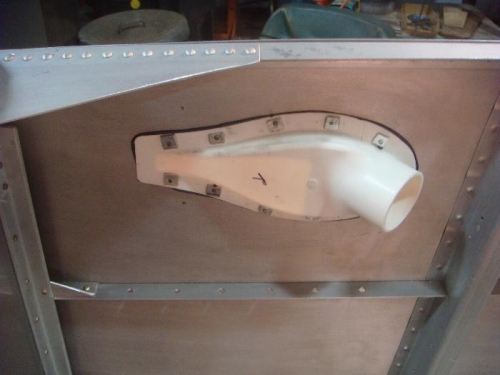
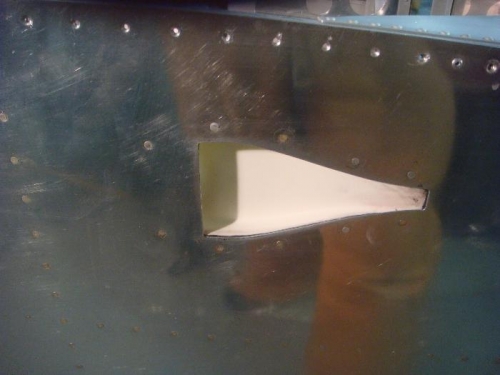
I scuffed up the plastic to help paint adhere later. Then put a coating of RTV on the lip of the vent. I clecoed them in place and watched the RTV ooze out. (They are definitely sealed up.) Some builder just glue them on with RTV and don't use rivets. (I see why when I tried to rivet them.)
I let the RTV set up, then went to work riveting the vents on. I started out using small backup plates for pull rivets. (They didn't work well at all.) So, I fabricated square backup plates and drilled a small hole in each.
The problem with the rivets is they expand into the plastic, rather than on the outside of the backup plate. I tried using a longer rivet, but it ended up worse than the others. The vents aren't going anywhere, but the rivets don't have much of a head inside.