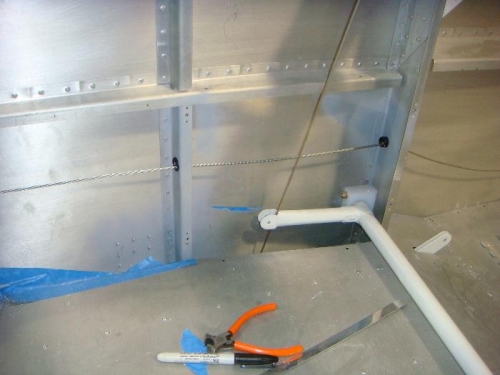
Today, I decided to tackle the connection of the flaps pushrods. I started with the left side of the plane and drilled a small hole to see how everything was going to align. I spent about a half an hour just measuring and looking. I didn't want to goof up a hole in the fuselage. I ran a small wire through the hole to see how everything lined up.
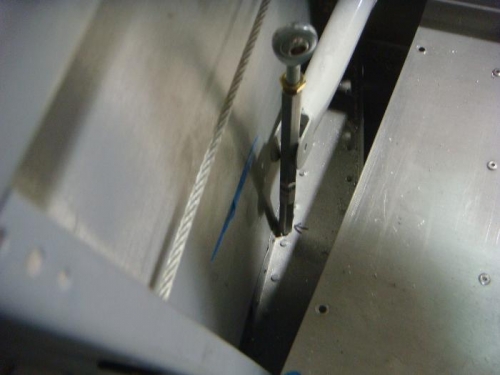
Then, I spent the next 3 hours enlarging the hole bit by bit. It actually ended up being much different than I thought it would. Once the pushrod would fit through the hole, I'd run the flaps up and down until the pushrod touched the skin... then enlarge it a bit. I used a 9 volt battery from a cordless drill to activate the flaps.
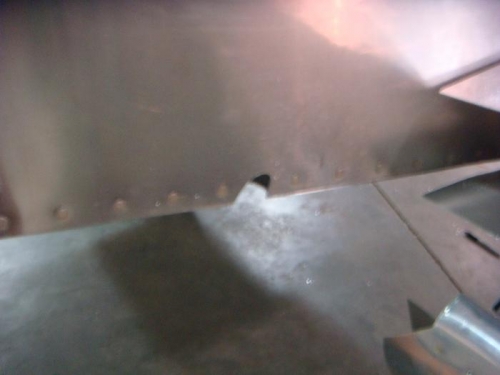
If I could give builders one piece of advice, it would be to take it slow. As the pushrod comes up, it follows a path I wouldn't have predicted.
The right side flap was much easier... but still took a few hours. (I didn't want to get over confident.) I read about people just copying the hole they made on the other side of the plane. For me, the holes were a bit different.
It is pretty cool to watch the flaps go up and down!!!