
|

|
|
|
CCex
|
Date: 11-9-2012
|
Number of Hours: 3.50
|
Manual Reference: Sec 27
|
Brief Description: Install Leading Edge Skins
|
|
First, the centerlines of center and nose ribs were marked with a Sharpie. Then, after taping the nose skins in place with duct tape, the Nose Rib Drill Fixture was used to locate the rivet holes on the skins. After inserting a 1/4" x 2 1/2" board between the nose ribs and the skins, the marked hole locations were drilled with a #40 drill with drill stop. After removing the board, the nose ribs and skins were matched drilled with a #30 drill bit (with drill stop) and clecoed in place. At the intersection where two skins joined, the holes on the top skin were drilled first with a #40 bit, then the skin below was match drilled with the #40 bit, but the 1/4" board was used between the lower skin and nose rib. The board was removed, and the line on the nose rib was aligned with the skin holes, and all three were matched drilled with a #30 bit and clecoed in place.
Since the #2 skin (outboard is #1) overlapped into to the landing light cutout on the #3 skin about 1/4", the trimming was begun. That will be finished when the skins are taken off for deburring before riveting.
|
|
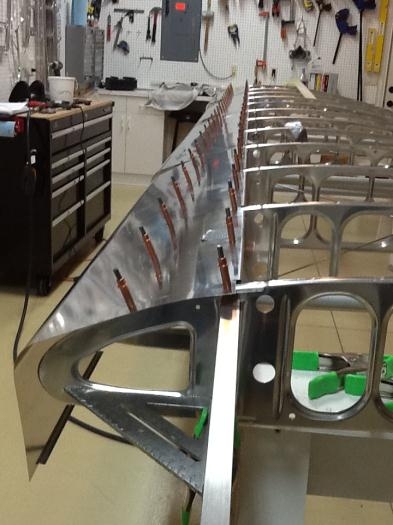
Square Outboard Nose Rib to Spar
|
|
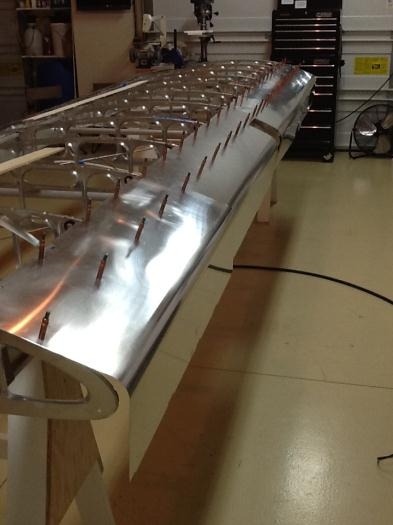
Inboard to Outboard
|
|
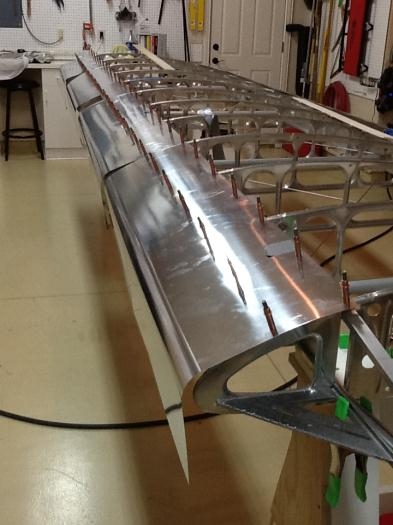
Outboard to Inboard
|
|
|
|
|
|
|
|
|
Copyright © 2001-2024 Matronics. All Rights Reserved.
|