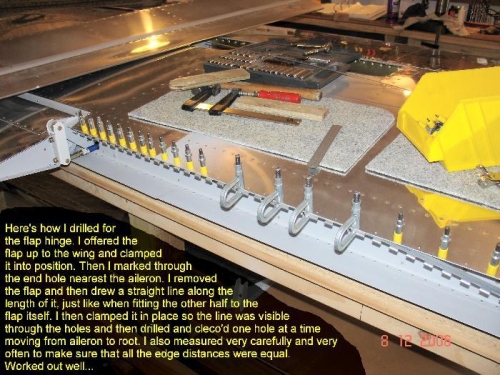
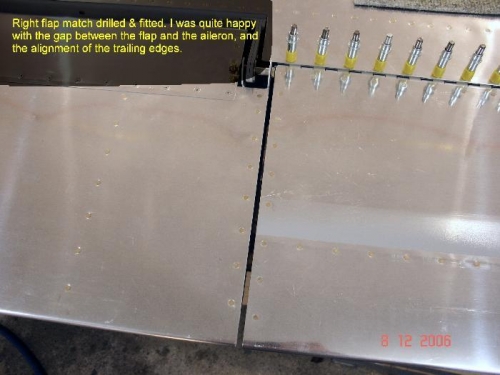
Here's how I drilled for the flap hinge. I offered the flap up to the wing and clamped it into position. Then I marked through the end hole nearest the aileron using a #40 drill. I removed the flap and then drew a straight line along the length of it, just like when fitting the other halfto the flap itself. I drilled the marked hole #40 on the bench and used that to index the hinge back onto the wing. I clamped the hinge in place using C-clamps so the line was visible through the holes. The skin and flap brace were still cleco'd outboard of the C-clamps to maintain the alignment of those two pieces. I then drilled and cleco'd one hole at a time moving from aileron to root. I also measuredvery carefully and very often to make sure that all the edge distances were equal between the skin and the hinge pin (in my case 2mm all the way along). I'm really quite happy with the way it came out. The gap between the flap and the aileron is consistent from leading to trailing edge, and trailing edge alignment is good. My next task will be to try to countersink the flap brace 'in situ': not looking forward to that task. It will be tricky, but I think its 'do-able'...