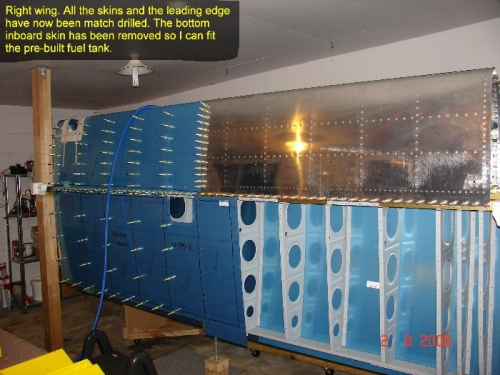
Brief Description: Right wing - top skin & leading edge
Finished match drilling the top outboard wing skin and the leading edge. Glad that's over; just the deburring and dimpling to look forward to now!! Cleco'd the tank in place ready for fitting.I'll fit the tank the same way I did for the left wing as follows:-1. Mark center lines on the attach angles for reference (not that there's much I can do about it now!).2. Position the tank on the spar tight up against the leading edge skin and cleco through the spar attach nutplates using 1/8" clecos.3. Back drill #12 the attach angles through spar and hold in place with cleco's.4. Match drill #30 the fuel tank skin to the W-423 joint plate.5. Remove the tank from the spar and open out all the skin holes to #19, deburr and dimple for #8 screws.6. Drill the attach angles for nuplates and countersink as required for the flush rivets.7. Fit the nutplates to the main spar for the inboard-most attach angle.8. Comply with the Service Bulletin SB06-2-23.9. Reassemble after the SB and test for leaks.10. Clean/ prime the outside of the tank ribs and rear baffle, etc.11. Slosh the tank with fuel to clean it out (I forgot to do this with the other; must remember to do it later...).12. Install back on to the wing.Job done. Sounds easy, but very time consuming...