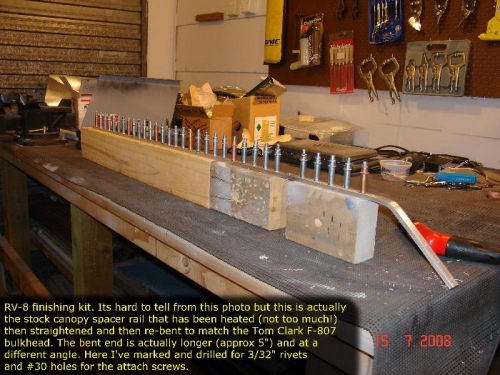
Here's where things start to get 'interesting'. Moving on to the canopy fitting. Of course, as you know, I'm doing the Tom Clark fastback mod on my RV-8. Trouble is a) he provides very little in the way of instructions suitable for 'newbies' (i.e. "me"!) and b) his instructions focus on the old pre- prepunched RV-8 kit, not the new 'v2' kit. So I'm having to look at photos of Tom's plane and the Vans instructions and plans (I'm missing DWG #37 too!) and try to work out what needs doing and relate it back to the Tom Clark fastback. Nothing is the same.
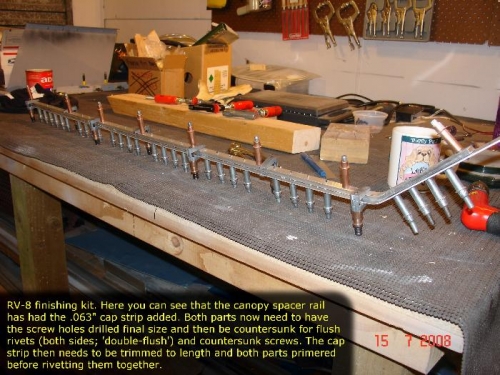
Tonight I worked on the canopy rail and basically got as far as drilling the holes for the rivets and screws. Why so long you ask? Well, I spent the first 15 mins or so just working out what needed to be done and working a plan for the Tom Clark rail (which is, of course, incomplete since I have no idea how long the rail needs to be). The new pre-punched RV-8 kit comes with the spacer rail pre-cut and pre-bent. Typically, the bend was in the wrong place and the wrong angle for the Tom Clark F-807 bulkhead. So out came the blowtorch to provide some very careful heating and the spacer rail was first straightened and then re-bent as required. Very nervous work that! After getting the bend sorted I proceeded to work out where the rivet and screw holes needed to be and drill them, which in itself is quite a long job. I haven't yet decided whether to spend another evening doing lightening holes in the spacer as per Vans optional, or whether to just leave it. Next job will be to countersink for screws (what sort?) and rivets and then primer the two pieces and rivet them together (using double-flush rivetting).