
|

|
|
|
JoeNelsens Web Site
|
Date: 8-26-2013
|
Number of Hours: 6.00
|
Manual Reference:
|
Brief Description: aileron weight install
|
|
1) These are the finished weights ready for install. Trimming was a bit of learning. Cut with band saw, and if I cut fast at all, the blade would jamb up. using soap helped some. The first weight went pretty well, but the second on was a major PITA as the saw would stop. Drilling the holes cost one broken bit, several issuences of different type of words and a lot of time removing the piece. I did learn a lot about drilling lead, and finally suceeded. Oh, the lead weight would get too hot to hang on to, too. but I got them trimmed to 1.00 +/-, and with a bit of room on the top to actrually do the final weight trim at instal.
2) weights came awfully close to being perfect! the spec is bottom surface level +1/2 in up deflection. this one, LH has about 2-3 in up deflection. Too much lead. that is the way I needed it for trimming at install.
3) this is the RH and it had even more up deflection, maybe 6 in? I did not measure. All I saw was it wasnt bottom level at this point.
Now I have to store these also, and have yet to figure out a place. More hooks on the cieling maybe? So far I have the whole project in the shop along with the oft seen Dodge van, but some day I probably will have to sequester the van at the hanger. I would sort of feel bad if N502PD wasnt all in the same place. Even though if it isnt a close formation of misc. parts....yet.
Flaps are next. Short vacation and family affairs are all looming. I may not be able to get back to serious building until later in September. God speed to all!!
|
|
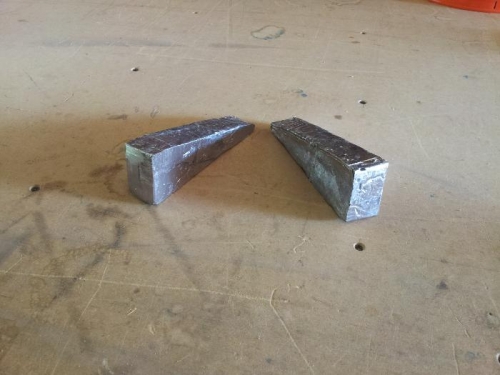
after trim
|
|
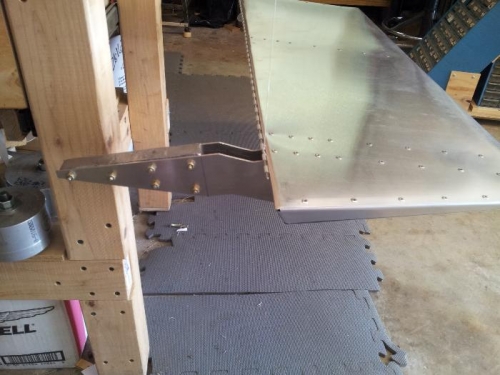
LH ballance
|
|
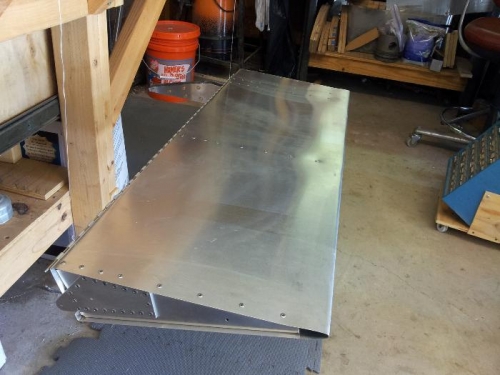
RH ballance
|
|
|
|
|
|
|
|
|
Copyright © 2001-2025 Matronics. All Rights Reserved.
|