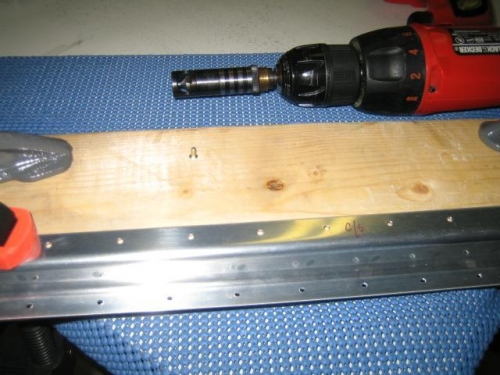
Brief Description: Trim Tab spar countersinking and end riblet.
When I ordered the replacement Trim Tab skin from Van's I also ordered another spar and piano hinge. On my first Trim Tab attempt, the spar deformed slightly when I dimpled the upper flange.
This time around I decided to countersink both the upper and lower spar flanges. This left the spar perfectly straight. The only drawback to this is a lot of material has to be removed for the skin dimples to sit flush into the spar countersinks. This tends to open up the rivet holes to a slightly larger than #40 size. This is no problem on the top surface because the spar will be sandwiched between the upper skin and the piano hinge which will both have proper sized #40 holes. On the bottom spar flange the holes leave a bit more wiggle room for a -3 rivet than I would like. So, I decided to use -4 NAS1097 rivets along the bottom skin to spar flange to alleviate this issue.
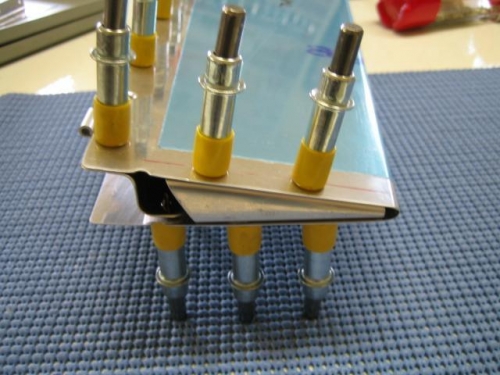
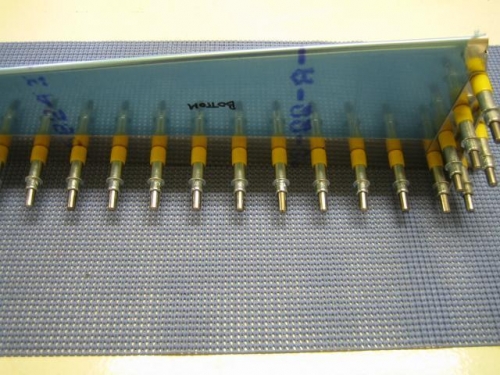
I installed my outboard Trim Tab riblet taking care to adhere to minimum edge distance rules. This went well and I plan on using MK319BS flush head blind rivets on the top and bottom to secure it in place. Based on the acceptable result I had bending the Inboard tabs I probably should have tried to bend this end too, but I didn't want to take the chance of making a mess of it.
Next up is to disassemble the Trim Tab and prepare it for primer.