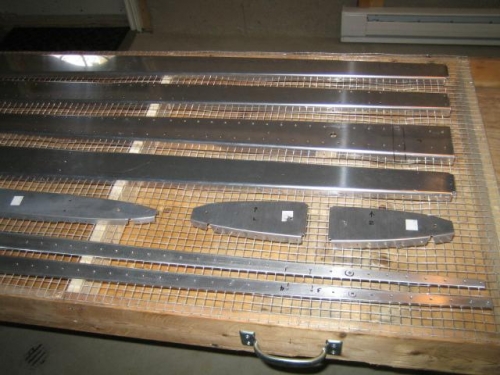
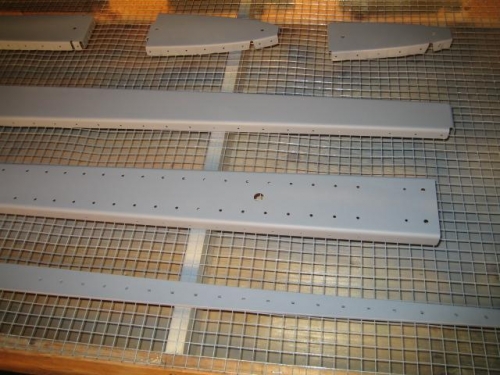
Brief Description: Match drilled and primed HS skeleton
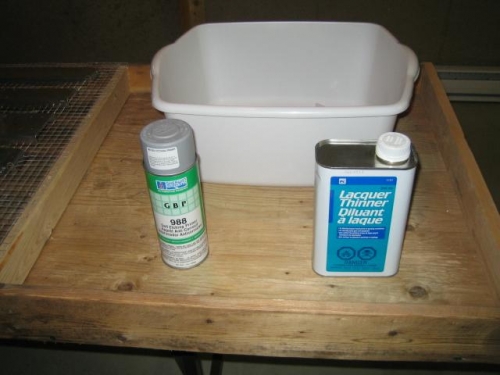
I finished drilling and reaming the skin to the LEFT hand side of the HS skeleton. I then prepared all HS parts for priming. I was unable to drill and ream the right hand side because work has me off to Thailand for 6 weeks this Monday. I decided to prepare and prime all HS skeleton parts so would not have to worry about corrosion while I am away.I use the following procedure for parts preparation and priming:1 Mark all parts with a Sharpie pen (I segregate all Lefts and Rights from this point on).2 Soak parts in warm soapy water and remove the part number stickers.3 Dry the parts then use a Grey ScotchBright Pad and Lacquer Thinner to remove all pen marks and oil residues. (Keep left and rights separate!)4 Rinse parts again in warm water and dry.5 Place parts on the (screened) painting table and wipe down with a clean paper towel using Lacquer Thinner again. (I use latex rubber gloves for this step.)6 Spray a light coat of SW 988 Self Etching Primer and wait until dry. (15-25 minutes)7 Spray a second light coat on.8 Flip the parts and repeat from step number 6.* I read that Naptha camp stove fuel works as well as Lacquer Thinner but is less expensive.This procedure seams to work fine, and doesn't involve dangerous two part chemical primers or messy paint guns. I'm all for long airplane life but I feel the extra ordinary lengths some builders go to with this step is excessive. It doesn't matter much to me that my airplane will only last 30 years instead of 50 or more.