Brief Description: Left tank rear baffle and Z-Brackets.
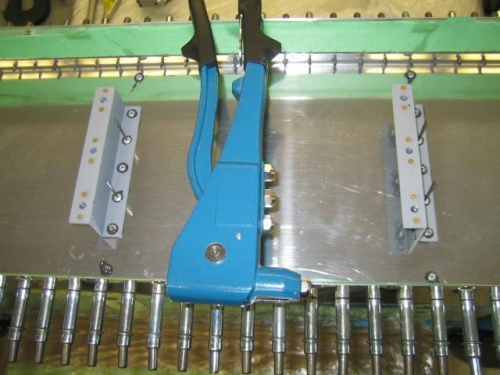
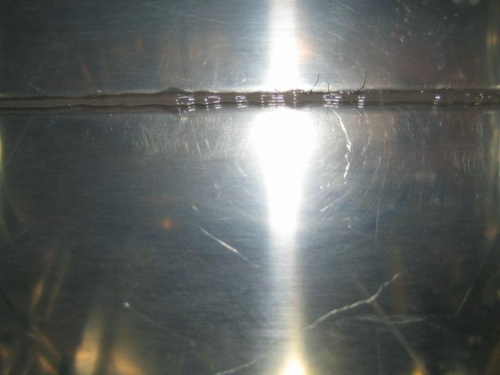
I mixed up a fresh tube of tank sealant and applied a thin smear of goop to the tank rib aft flanges. Then applied a continuous bead just below the span wise rivet holes where the rear baffle will join. I also spread a very thin layer to the edges of the rear baffle and laid a descent glob at the aft corners. I placed the baffle in position and triple checked that the rivet holes were perfectly aligned by placing a few rivets just to make sure they sat flush. I put every cleco in place then got going with the Z-Brackets. I started that by spreading a very thin layer of sealant to them and clecoed them all in place. I used my modified rivet puller to set the closed end blind rivets. Every one of them set correctly with the stem breaking right at the base. There is a set screw at the rear end of my puller I adjusted to place the least amount of biting pressure on the rivet shafts and I believe that is why I didn't experience any of the stems breaking above the base. I checked inside the fuel filler cap and the access hole to ensure the bead between the baffle and the skin was properly positioned and it was. I put some extra goop where the T-405/T-410 plates are and at the aft corners as these are common problem areas for leaks. Tomorrow I will 'wet set' all the rivets for the rear baffle. I used a full 6 oz of sealant for this step.