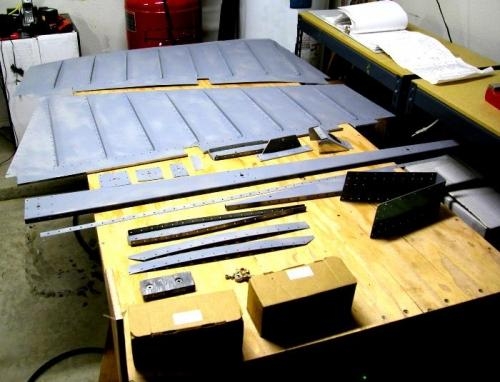
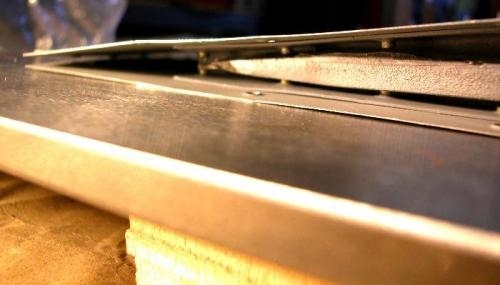
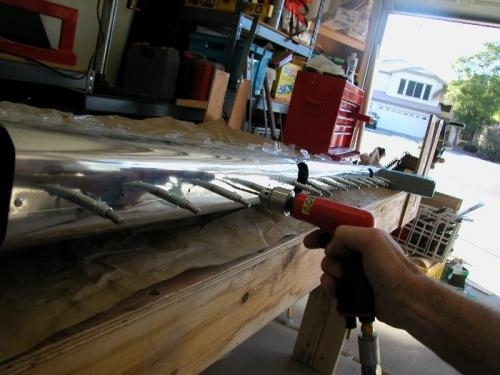
After cleaning, I coated all of the inside parts with 988 primer. The coating was done in the warm afternoon sun, to allow for better adhesion. I breather I used worked well. When I was wearing the mask I could not smell any of the fumes from the Zinc chromate primer. However, after my work was done I removed the mask and could smell the primer. The rivets that could be reached by the squeezer tool were set easily. The rivets in the tight wedge areas were set with the aid of a screwed drive and the back plate. I took several tries before I thought of this idea. In the end I would rivet the top surface and bottom surface at the same time with good results. Bending the leading edge sheet metal was a bit more difficult than I had expected. I guess that I have not gotten used to sheet metal work since this seems to be standard practice in may part of the airframe. The manual suggest using a metal pipe, but I found a plastic pipe to work well. I added a step by simply taping the Leading edge to the pipe. Tape worked well and reduced the work. I still had to work the sharp bund by hand. After the holes lined up, the work was clecoed, drilled and blind riveted.