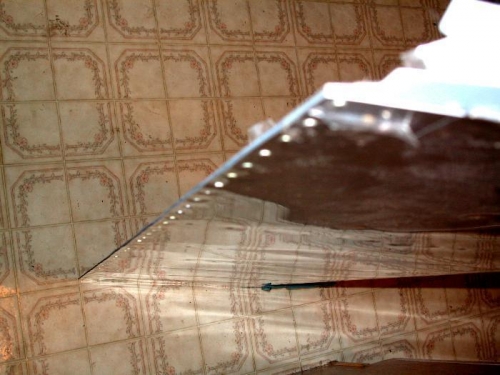
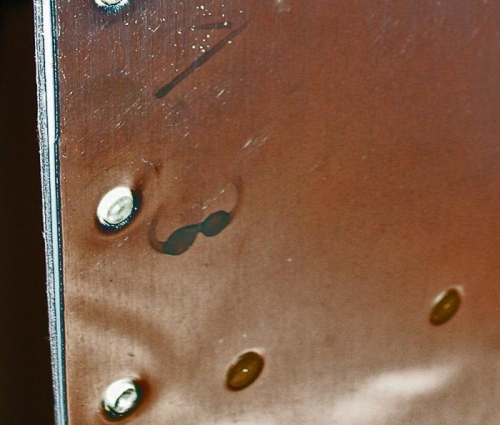
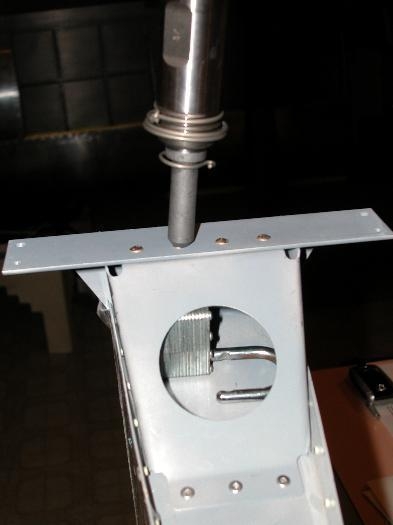
The trailing edge was riveted against the flat table and turned out to be very straite with almost no extra work. The hand squeezer was used and the rivets filled both sides well. The trailing edge sheet metal was dimmpled and the wedge metal was counter sunk on both sides. Riveing using the flat set for both surfaces filed both counter sinks better than I thought would happen. The bottom back brace was hard to rivet, but a pad lock wedged with wood was finally used with good effect. The hole in the brace made it hard to get any bucking bar inside to back up the rivets. I used a pad lock and wedged it in place with cuts from ply wood. A wedge was used on the bottem to keep the lock against the back of the rivet as it became shorter.The fiinal unit was finished and looks good.