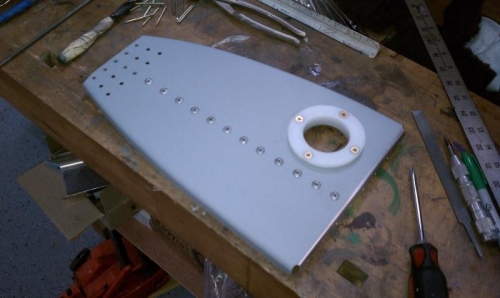
Today, i completed the nose rib, including the center stringer and the delrin bearing. No problems. I primed all except both sides of the flange that fit against the main spar as they need to be prosealed.
Then, I worked on the main inboard rib. The two fittings on the front are for the fuel gauge (sight) and the rear fitting is the main fuel departure point from the tank. When laying out the five holes on each flange, make sure to lay them out on the top side of the flange and not the bottom. The center will be different due to the threaded protrusion. Second, I used the already drilled #11 tooling hole in the upper corner for one of the holes, simply drilled one hole on the flange out to #11. On each of the flanges, I also sanded one edge flage to get closer to the top and bottom edges -- better fuel accuracy and less unusable fuel.
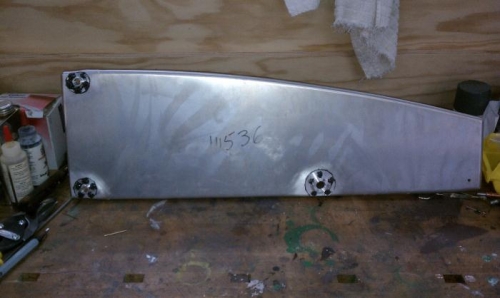
I taped around each flange location on the main rib before putting proseal on the main rib and bottom of each flange -- helped to keep it neater and less excess proseal on the main rib.
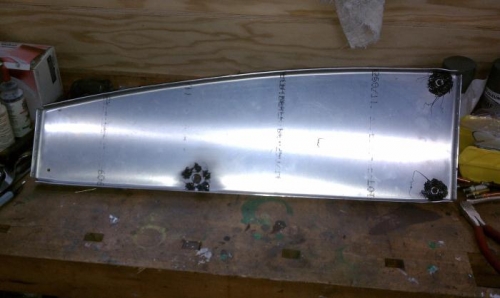
Before attaching the fittings, I drilled a 1/2 inch hole in each location with a hole saw to allow fuel to pass through the fitting.