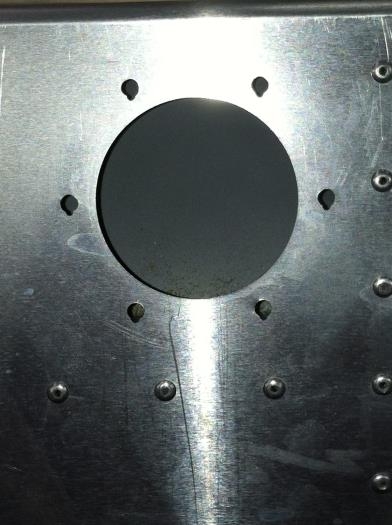
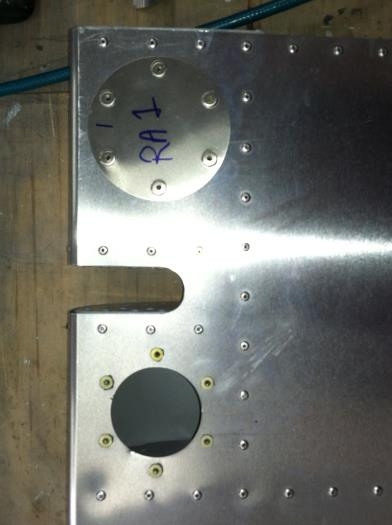
Today, I spent some time deburring the rivet heads on the right aileron and the left wing. At times, the mandrels leave a rough edge that needs to be filed down or hit carefully with a dremel tool. Then, I match drilled the access covers (six of them) for the right aileron. I drilled the skins out to #12 and then filed a small notch with a round jewelers file purchased at Harbour Freight. Then, I inserted the rivnuts with some proseal under each head. Picture two shows rivnuts in place and a cover made for the next hole. To pull the rivnuts, I'm using a tool purchased from ATS or one of the equivalents. It's approximately $100. I found the cheaper ones simply did not work for production quantities. I ordered the keyed rivnuts from Aircraft Spruce. To dimple the access covers, I used a homemade dimple die made by may friend Charlie Eubanks, similar to the pop rivet tool dimple dies sold by Avery tools.
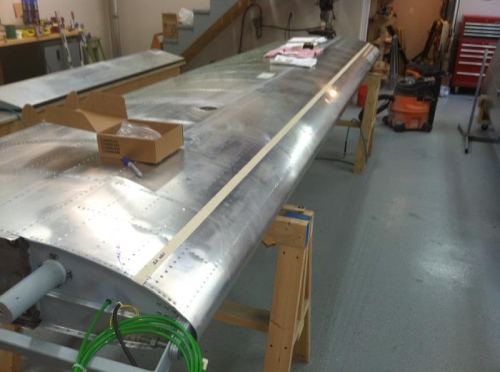
When complete, I then began to layout my Vortex Generators. I'm using the Lexan type from Landshorter.com. After reading the variety of literature on line and speaking with others flying Super Rebels, I decided to put the high point of the VG at the 10% line (6" back from leading edge). That allows them to start in front of a rivet line and not interfere with a series of stringer rivets. I purchased some 3M adhesive at NAPA to install them with. I used the lateral placement recommendations from Stolspeed.com with closer spacing near the wing tip to help the tips not stall too early.