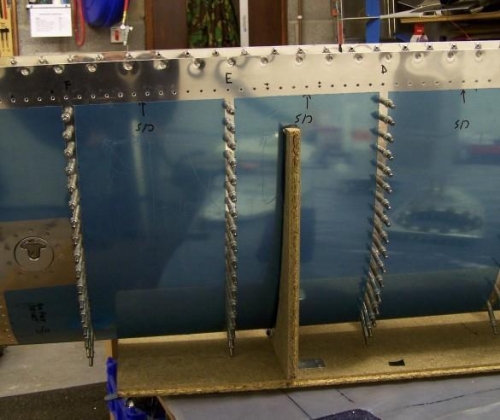
Whilst prepping for session 2 I came across an article on the Vans Air Force forum by Rick Galati who used tank sealant in his job on C-17's. "When I assembled my leak free fuel tanks, I proceeded exactly as I would at work. There is no compelling reason to wallow around in wet sealer needlessly! I would commonly apply the proseal to the mating surfaces of the parts (called fay-sealing), 100% cleco the assembly together, then allow it set up somewhere between tack dry and full cure. That's it. Walk away. Upon returning to work the next day or even better....after the weekend, I would then remove every second or third cleco from the assembly, wet install and shoot the rivets, then repeat the process over and over again until all the rivets were set." With approval from my inspector I thought I would try this method to make the experience of tank sealing bearable rather than the usual unbearable! (Post note - this method works and if you want a Standard Aircraft Practice reference - AC43.13-2A Chapter 3 Para 44 - Antenna Installation but same principle).
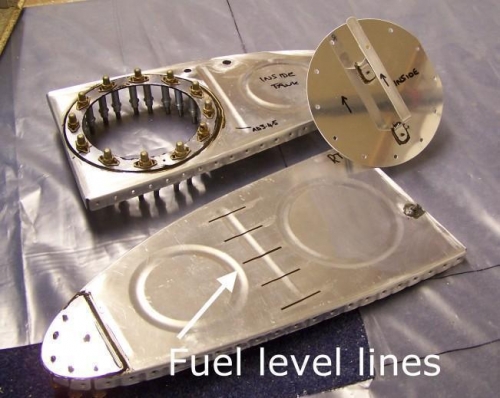
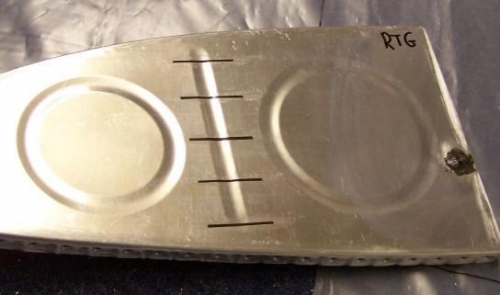
I have to say the session was a breeze. No time panic and not a single rivet shot! I did 3 ribs - could have done 5 but wanted to get the extras done. The fuel lines idea was nicked from another website and I used electrical tape to seal off the surrounding area. These are visible from the fuel tank cap {sub note - not the top line} and will give me a chance to positively gross error check my fuel state once they have been calibrated