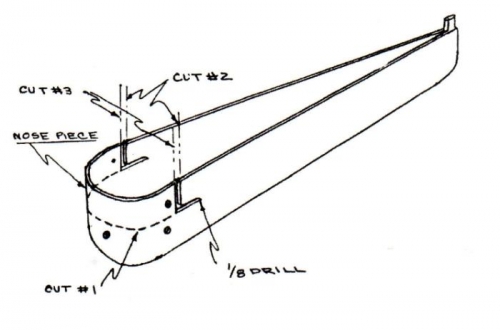
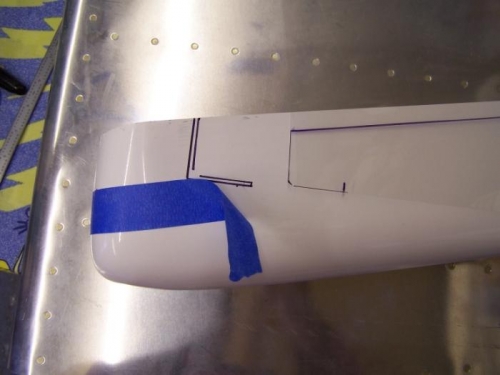
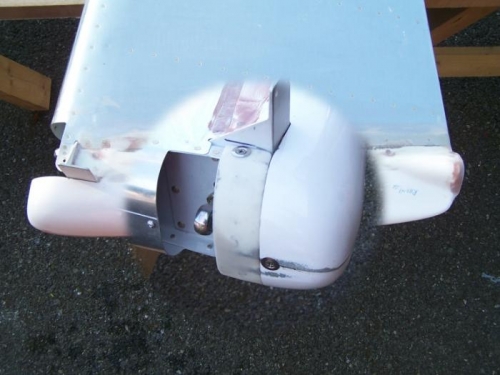
I used some acetate sheet to draw the cut out angle then trimmed with a rotary cut off wheel. The top forward cut out (marked "nose peice" on the article drawing) was given a stiffener/flange along the bottom edge and a nut plate installed in the centre. I found that there was plenty of strength with just the three screws holding it as opposed to five in the article (final photo).
I chose to permanantly rivet/glass on the bottom as I fitted a conduit tube from the tail light to the rudder control angle.
NOTE. Check that the bottom of the fairing clears the tail spring. I believe there was an issue with this fairing but when I checked mine there was about a 1/2" gap - new batch?