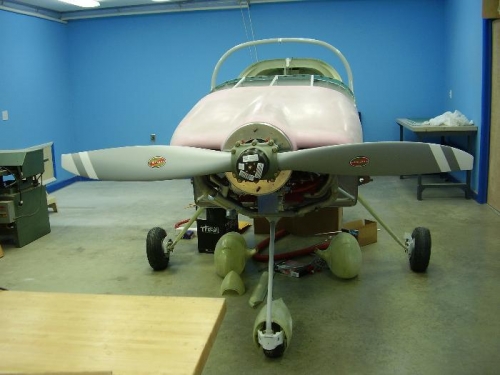
Brief Description: Propeller mounted to the engine
Before installing the propeller, I had to prepare the back mounting plate so that it would fit on the propeller attachment points. This included relieving the inside of the attachment plate to match the doubler plate. This took about an hour to cut away the excess material and file all the edges to match.
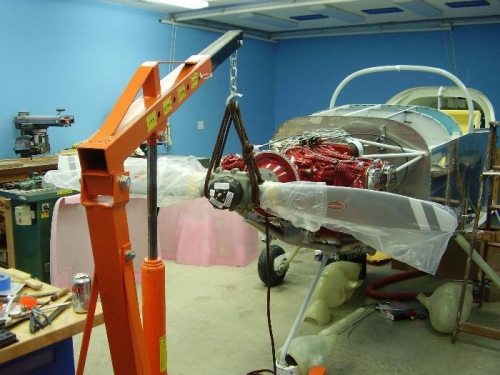
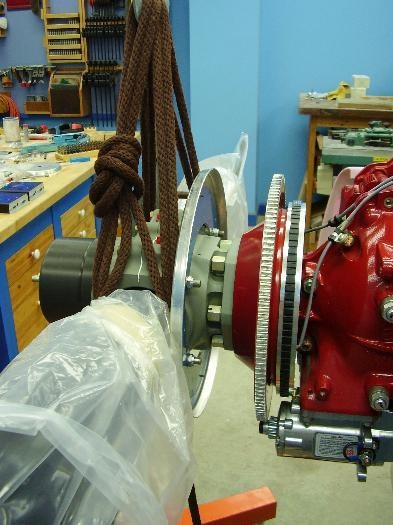
Then I went over to Sam's and got his engine hoist again to install the propeller. The propeller is just heavy enough and unweildly enough that it could easily get away from you without the hoist. It's better to be safe than sorry. I attached the prop to the hoist with a rope so as not to scratch the paint. Once the prop was elevated, I attached the backing plate using the bolts provided. I cleaned the mating surfaces with MEK and applied some oil to the blade control O ring. I then slowly worked the six bolts to draw the propeller onto the prop flange. You can only turn each bolt about a turn and a half before you have to go back and do it to all the others. I did not torque or safety the bolts, because I know I will have to take this off at least one more time in order to paint the spinner plates.