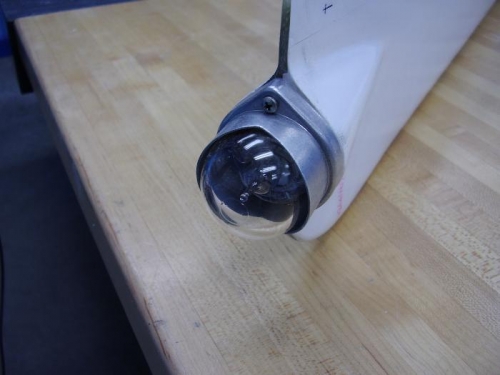
Brief Description: Finished rudder light install, started elevator ti
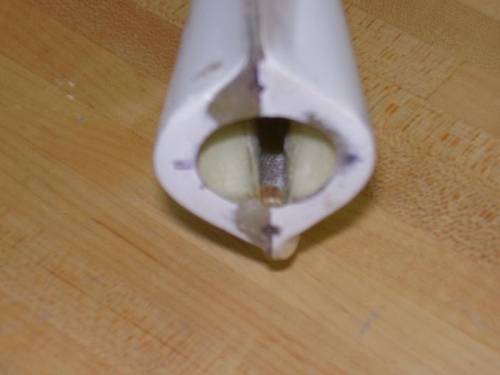
Since there is no room for fingers or tools to get inside the tip when putting in nuts for the mounting screws, I decided that the nuts had to be permanently attached to the tips. Rather than using the nuts provided with the light kit, I decided to make nuts out of small pieces of brass bar. I cut 1/4" lengths of 1/4" diameter brass bar and drilled holes down the center. Then I threaded the holes to match the 4-40 threads of the mounting screws. I used a dremel tool to grind material away from the brass and the fiberglass to get them to fit properly. Finally, I poured some epoxy cement into the tip to hold the brass nuts. I used the screws to hold the brass in place during curing. You can see the brass in image 1. After curing, I made sure the light assembly fit well.
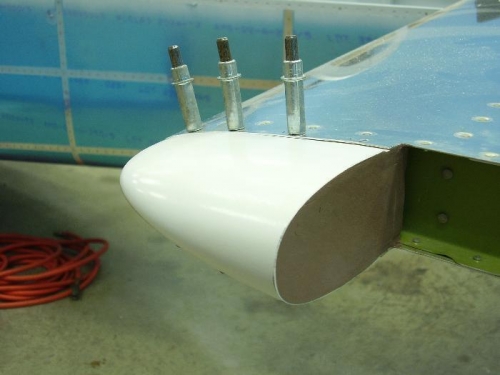
I also started to play around with some of Kay's clay to form the end for the horizontal stabilizer tips. I fitted the tips to the horizontal stabilizer so that the outside edge would match the elevator tip. I match drilled holes in the hs tip. I formed clay into the end of the tip and then clecoed it onto the stabiliizer. I used a small straight edge to shave the surface of the clay to match the swing of the elevator. Worked pretty well. My thought is to use this as a form for a plaster mold.