Brief Description: Mounted wing tip hinges on right wing
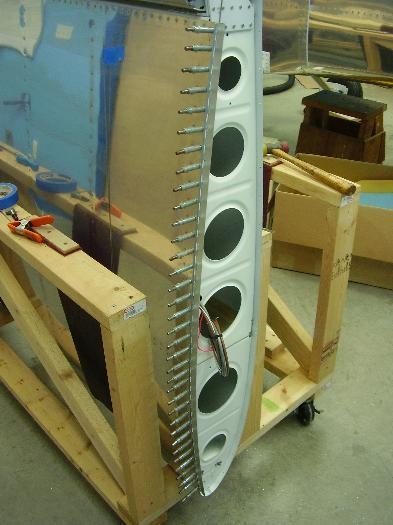
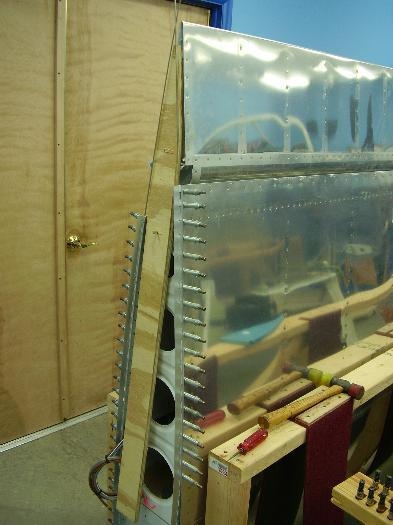
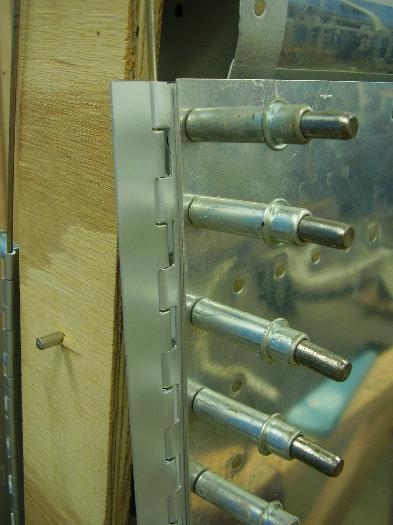
After reviewing the attachment methods for the wing tips, I decided that the cleanest end result would be to use hinges. With this approach, there are no screws exposed on the edges. Removal and assembly will be much easier. Also, the paint lines will be much cleaner. With this, I ordered 4 six foot hinges to make the attachments. Since the wing tips are formed from fiberglass that's .060 thick, the hinges on the wing side need to be spaced out by an additional .040. I cut lenghts of .040 alumium as shims for the hinges. I first attached the shims to the bottoms of the wing skins using spring clecos. Drilled the holes and clecoed the shims. After cleaning up the shims, I clecoed the hinges onto the wings and drilled the holes through. The hinges were spaced out away from the edge of the wing by .060 using a wire inside the clamps. I used this same technique on the engine cowl. This hinge offset will hide the hinges when the pins are put in place. My plan is to create a .030 gap between the edges of the wing skin and the wing tip. Performed these operations on the top and bottom skins to get started.