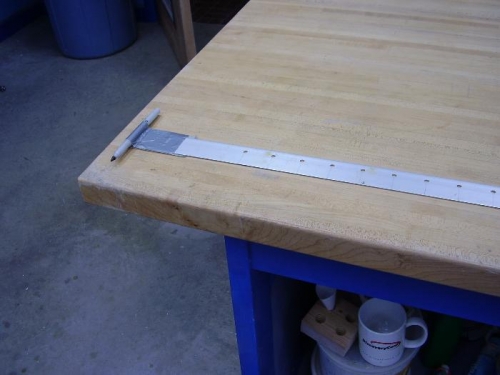
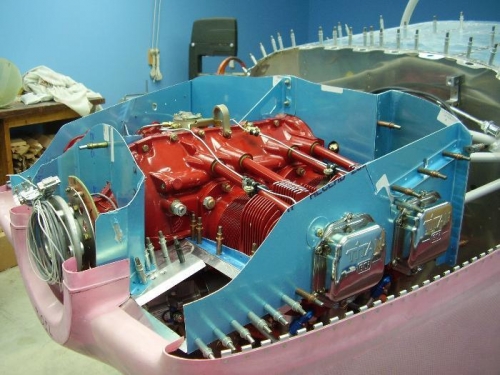
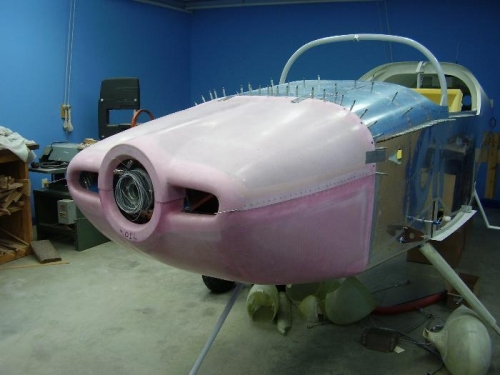
I decided to spend the day cutting down the baffles to fit the upper cowl. I started by using paper clips on the edge, but that didn't work. I next tried using a fineline marker run against the top cowl. I removed the bottom cowl to get access to the back of the baffles and found a flexible lenght of aluminum sheet to run the pen on the inside of the cowl. Although this worked, it was a slow process. Basically I fitted the top as close as possible and then found the high points. I marked the next cut by running a marker along the top of the cowl. The inside was marked by taping the pen to a 2" by 24" piece of .060 aluminum and running it along the inside edge of the baffles. After each mark, I used metal snippers to cut the 3/16" wide piece away. This set a new high spot. I did this about 10 times before I finally got the height right. However, the baffles are 1/4" short of the inside of the top cowl. I filed the top edges clean. I refitted the cowl with the hinge pins. Later, I cut down the baffles so that there was a gap of 3/8".