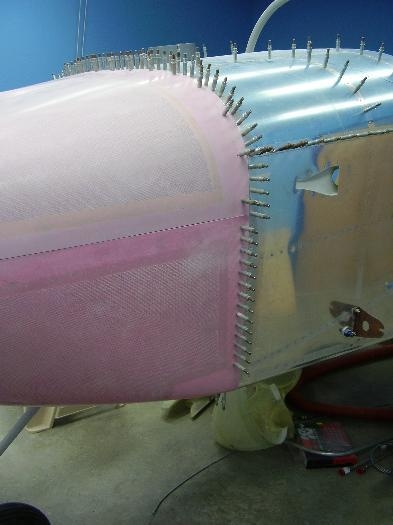
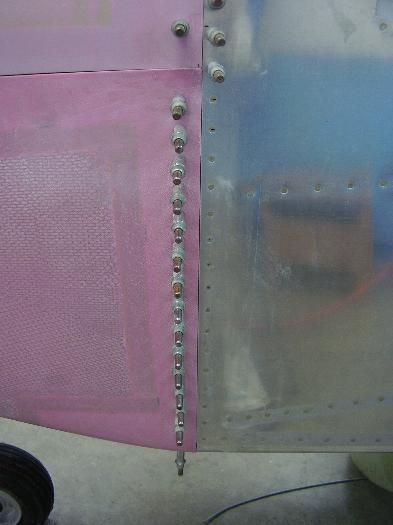
Brief Description: Drilling side hinges for the cowl
After the layup cured, I sanded it to the thickness needed to make the cowl flush with the fuselage skin. I used the same technique of shimming the play out of the hinges during the time that I drillled the holes in the cowl. The hinges are predrilled so that all I have to do is match drill the cowl. I taped the cowl to the fuselage to keep the gap between the two small. I inserted the hinge pins in the lower hinges so that they would be aligned properly and help keep the cowl in position. The shims in the hinges really helped to keep the play consistent during drilling. After drilling, I removed the shims and the hinge pins and sanded the rear edge of the cowl. Since the cowl hinges are completely hidden by the edge, this was very easy to do. After doing this, the hinges were really easy to insert and remove. Additionally, the vertical hinges are completely hidden behind the cowl. No gaps are visible from the outside. The picture doesn't show this because of the low resolution. There's about a .020 gap between the cowl and the fuselage skin.